
Awesome Laundry Soap (almost free)
When I say almost free, I’m talking $1.30 for 3.25 gallons. Compared to the Tide Pods I’ve bought and even the budget stuff they carry at my local Winco, the cost is miniscule!!! NOTE: I do have a high efficiency washer and haven’t had a problem with build up, but you must decide if this will work for you.
I have been making my soap for almost 3 years now, and haven’t been disappointed yet. We were all quite skeptical at first, my husband does jujitsu and comes home with extremely stinky clothes, but this works super and it also works great on just plain old dirt. (I do pretreat stains with Spray and Wash.) I found the recipe online and tweaked a couple things, but I really don’t think you can screw this one up!
The initial start up costs pay for themselves the first batch. Here is what you need to get started:
- Five gallon bucket with lid ($3.25 bucket + $1.76 lid)
- 5 Gallon Power Painter Stirrer $3.72
- Power drill (not included in start-up cost as most people have one in their house already, if you don’t have one, you may want to borrow one for this.) Here is the paint stirrer I use as attachment.
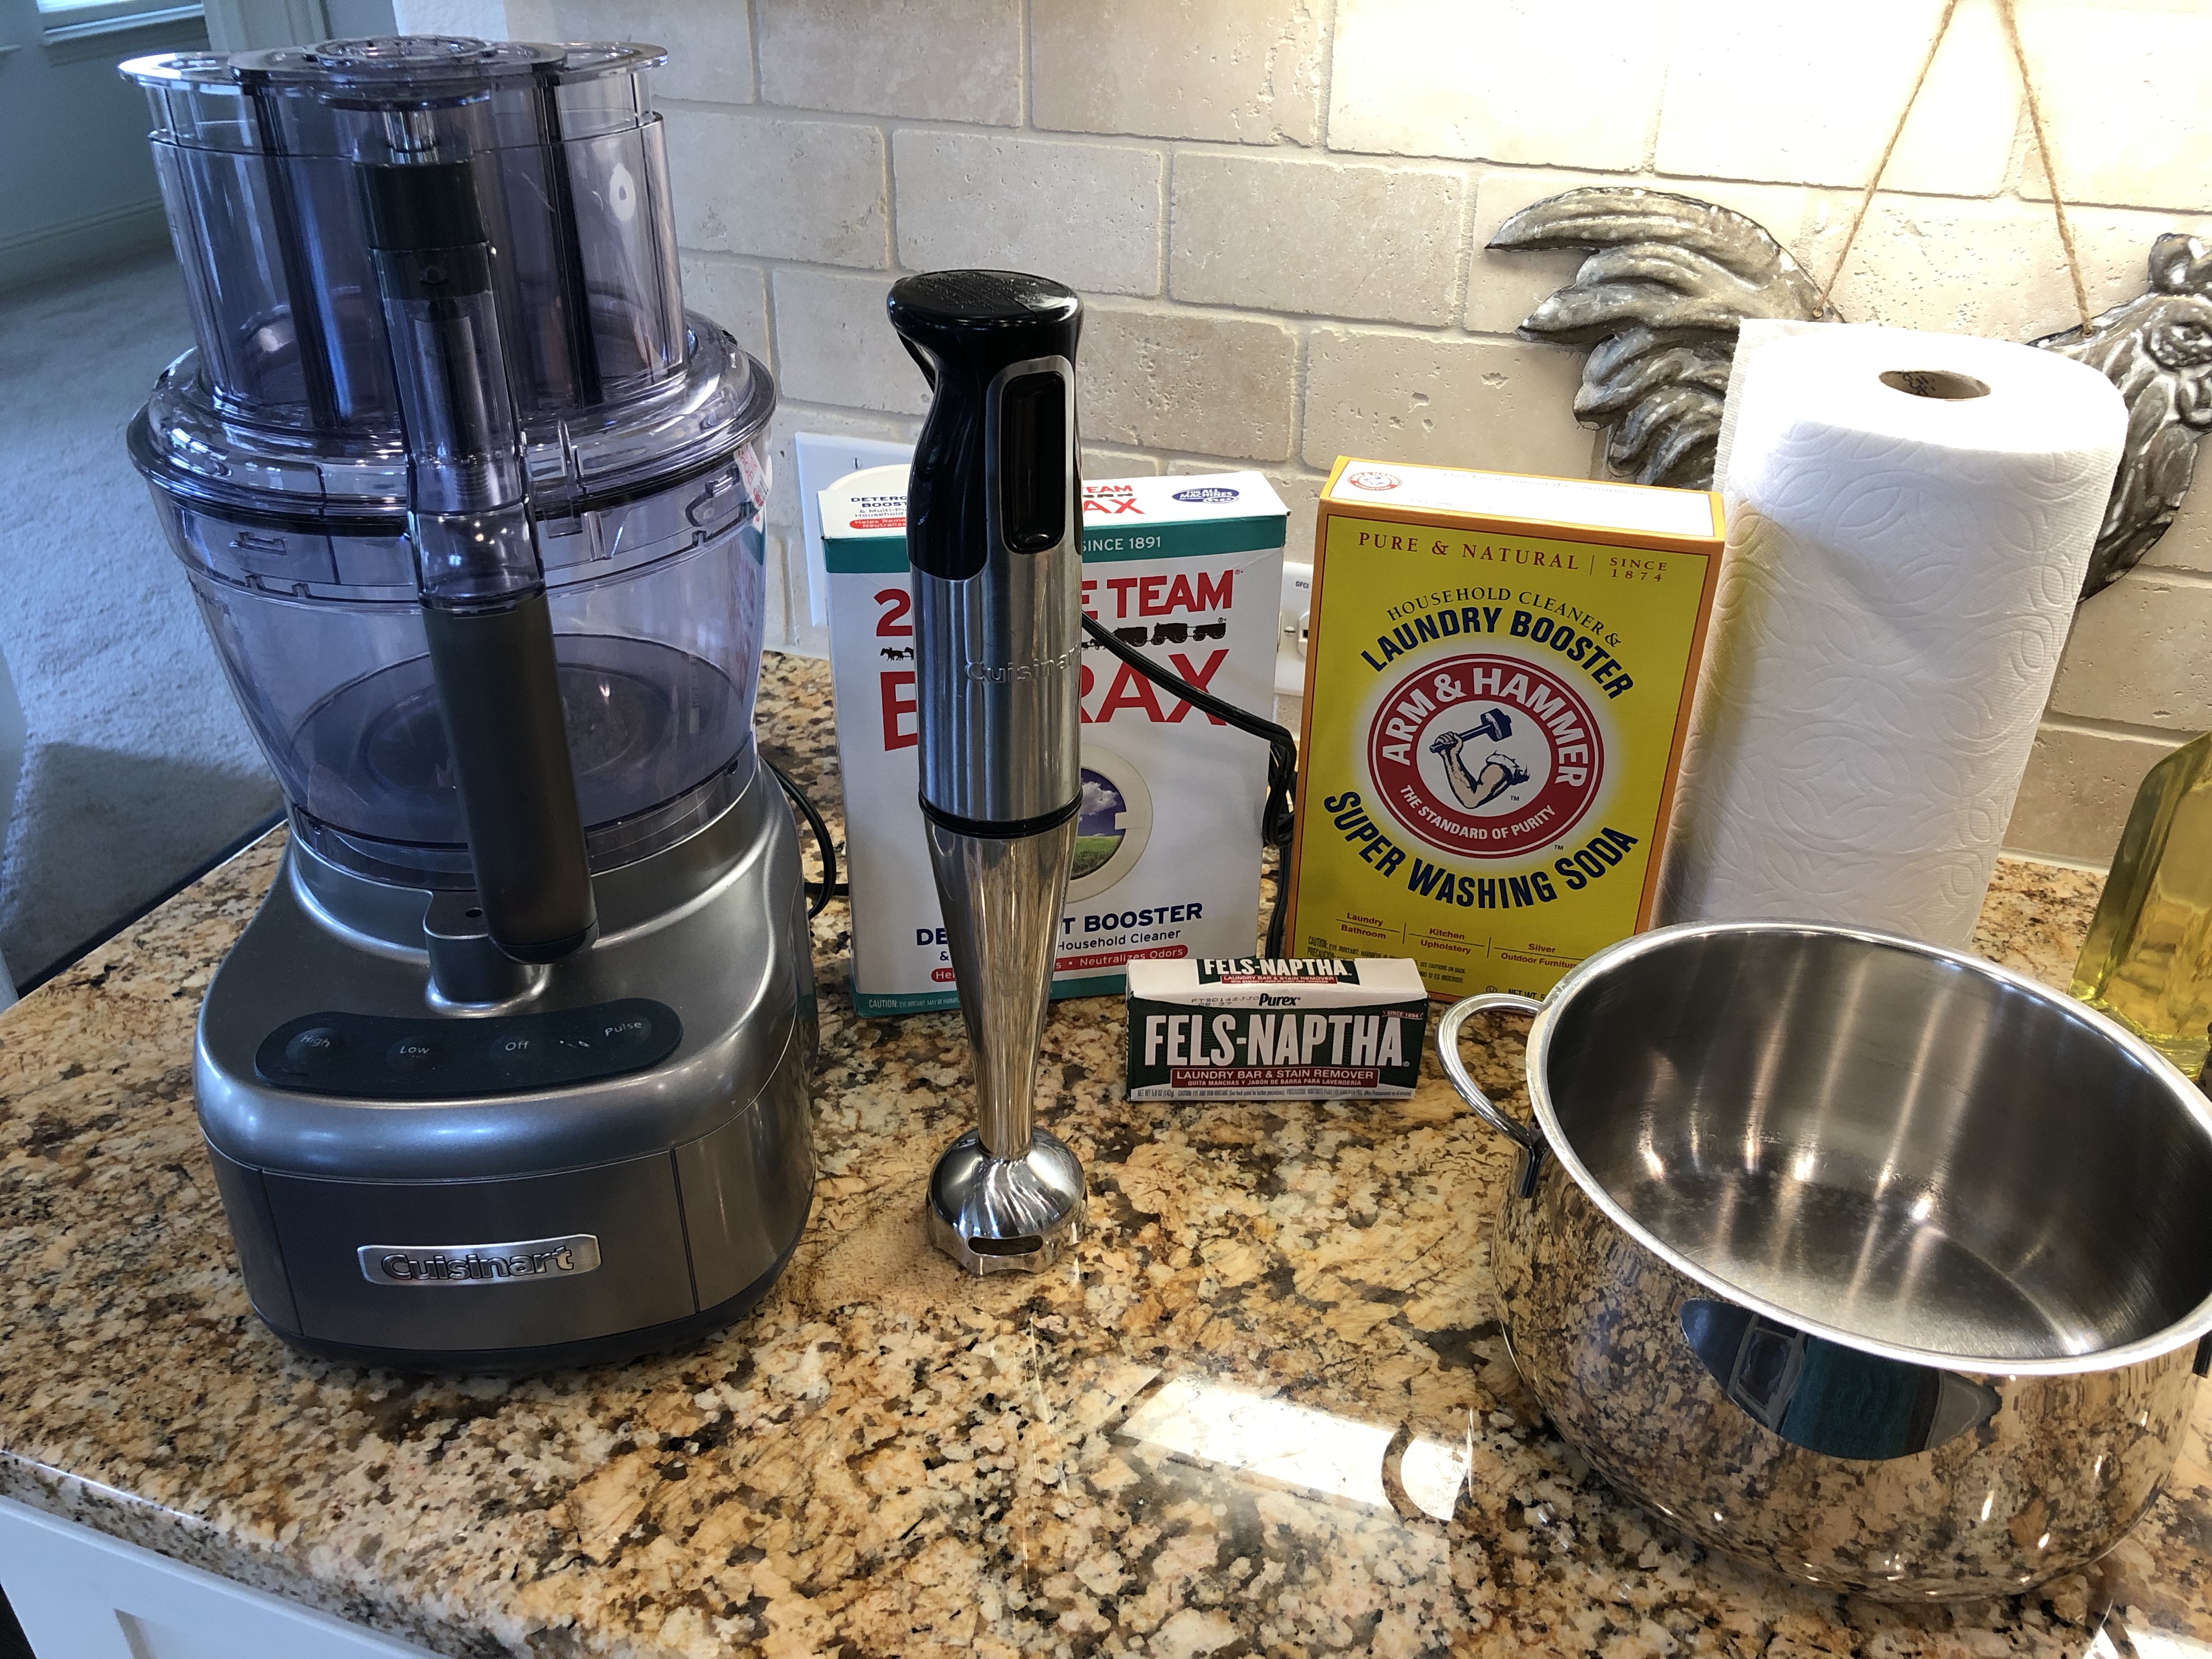
- Immersion Blender (this is not NEEDED, but makes things so much easier). Costco has one on sale now for $19.99.
- Food processor (again, not NEEDED, but so much faster) you can use a old fashioned grater.
- Bar of Fels Naptha soap ($0.97 at Walmart) This gets hard with age so buy only when you are about to use it.
- Box of Arm and Hammer Laundry Booster $4.12
- Box of Borax $4.47
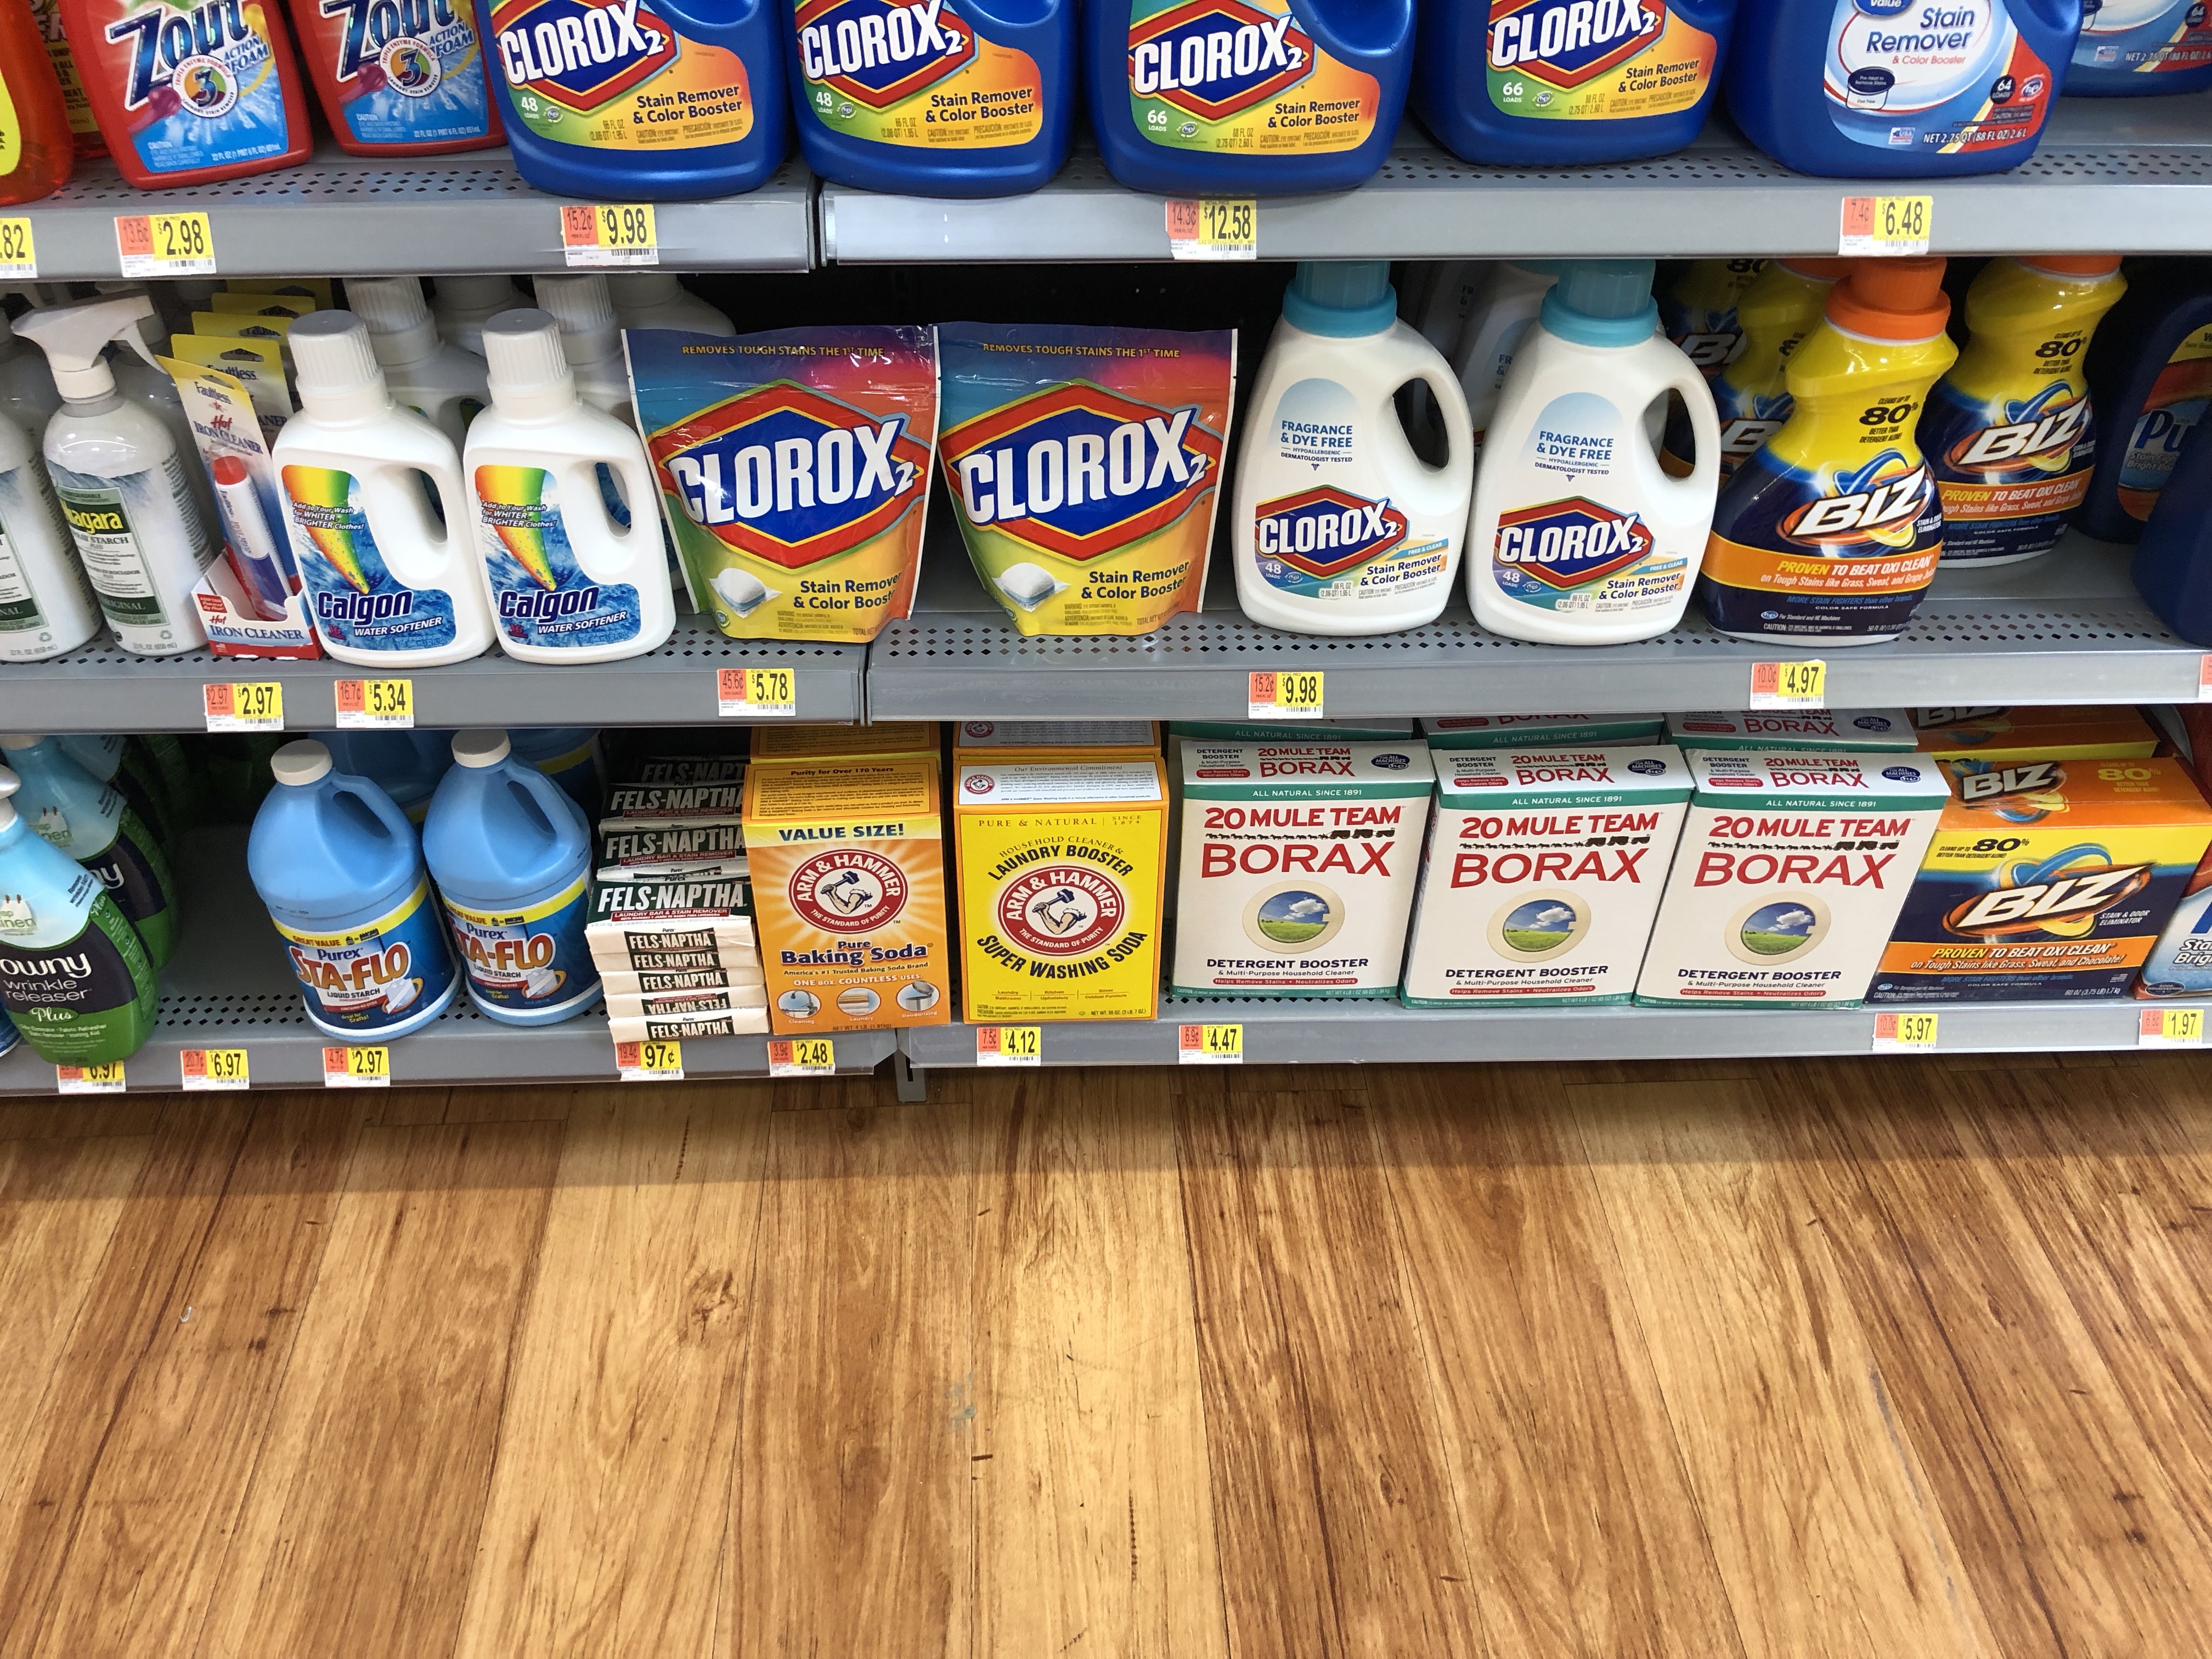
The last three items can be found at most grocery stores, at my Walmart and Winco they are always found RIGHT NEXT TO EACH OTHER! Many people must do this. I have used Zote, but didn’t feel like it cleaned as well. (I have also heard of people using Ivory Bar Soap, but I haven’t tried that.)
Step by Step Instructions
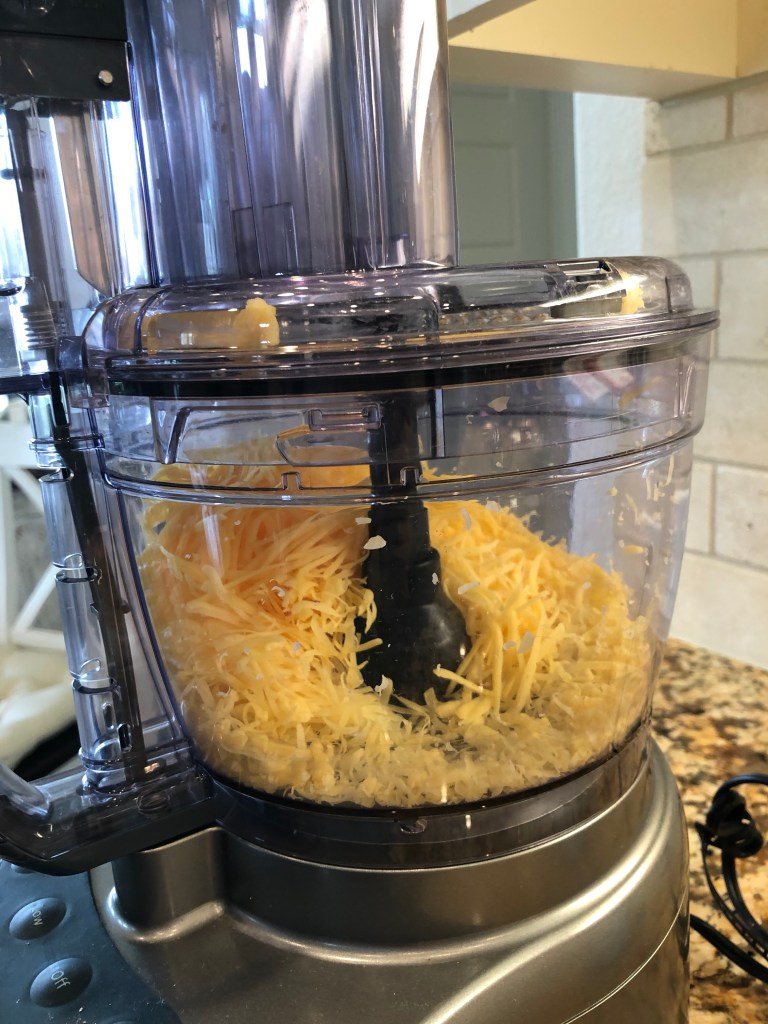

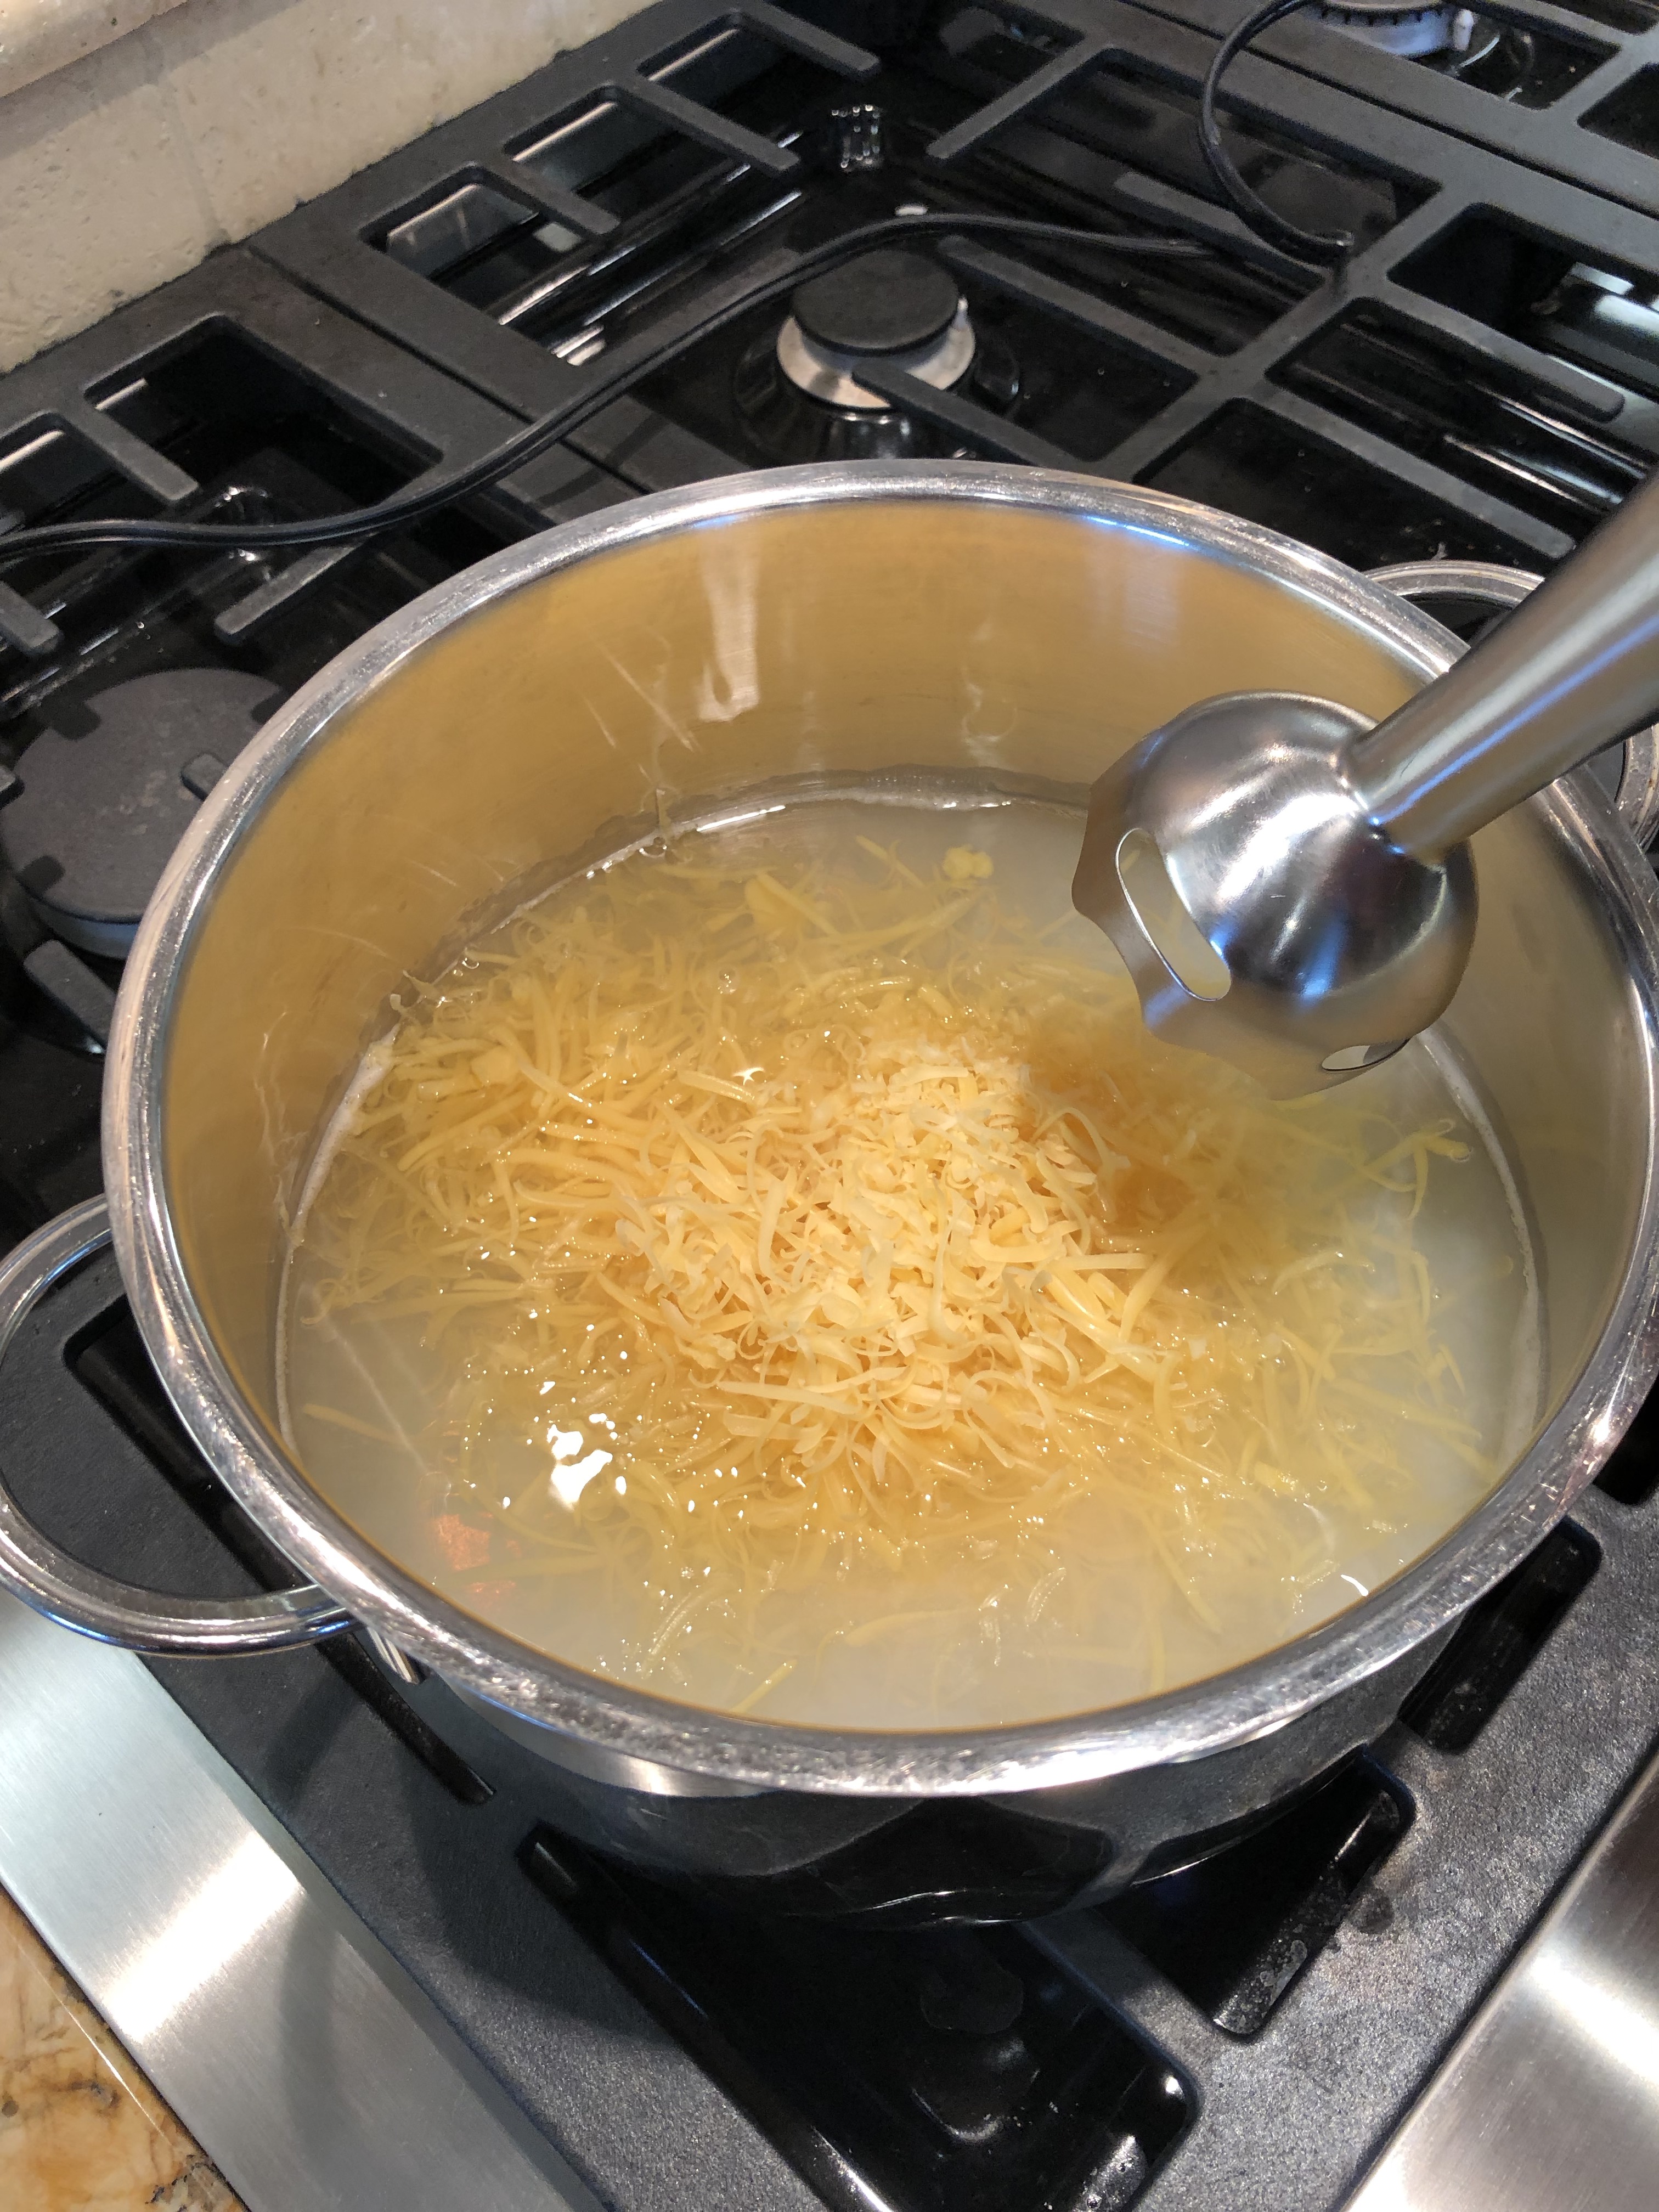
Looks a little bit like cheese. Put the sheeded soap in 4 cups of near boiling water, and begin to stir. It helps to tilt the pan on its side to have a deeper area to stir in, and it won’t splash out. You can do this with a wooden spoon, but it takes a bit longer and doesn’t mix as well. 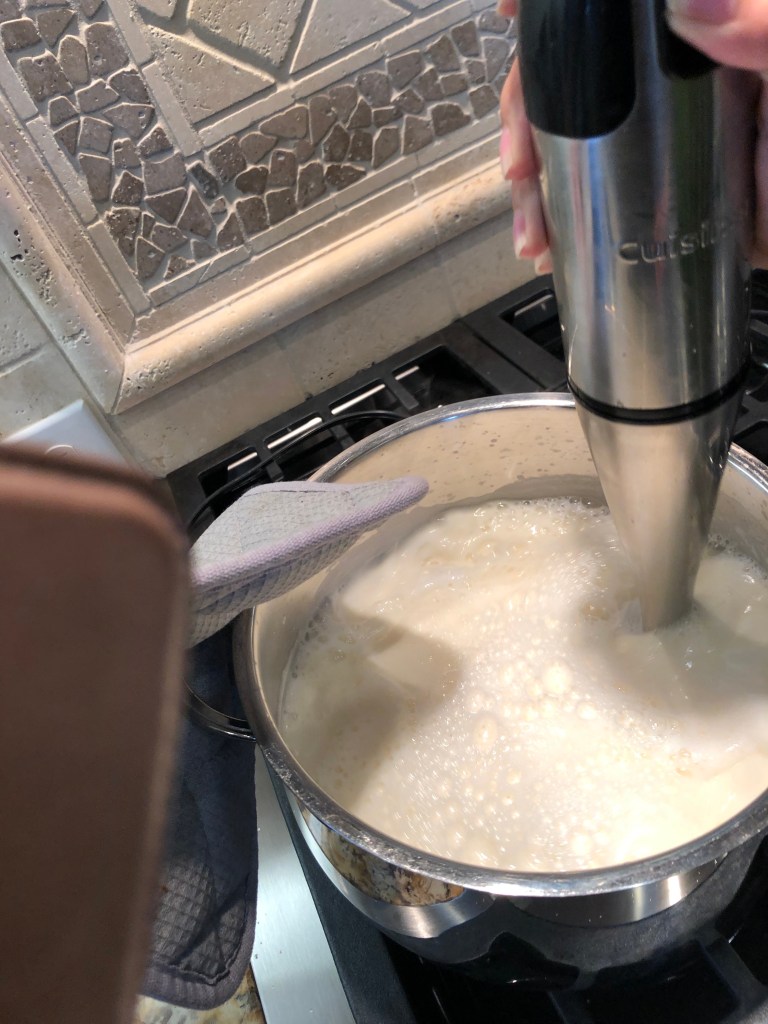
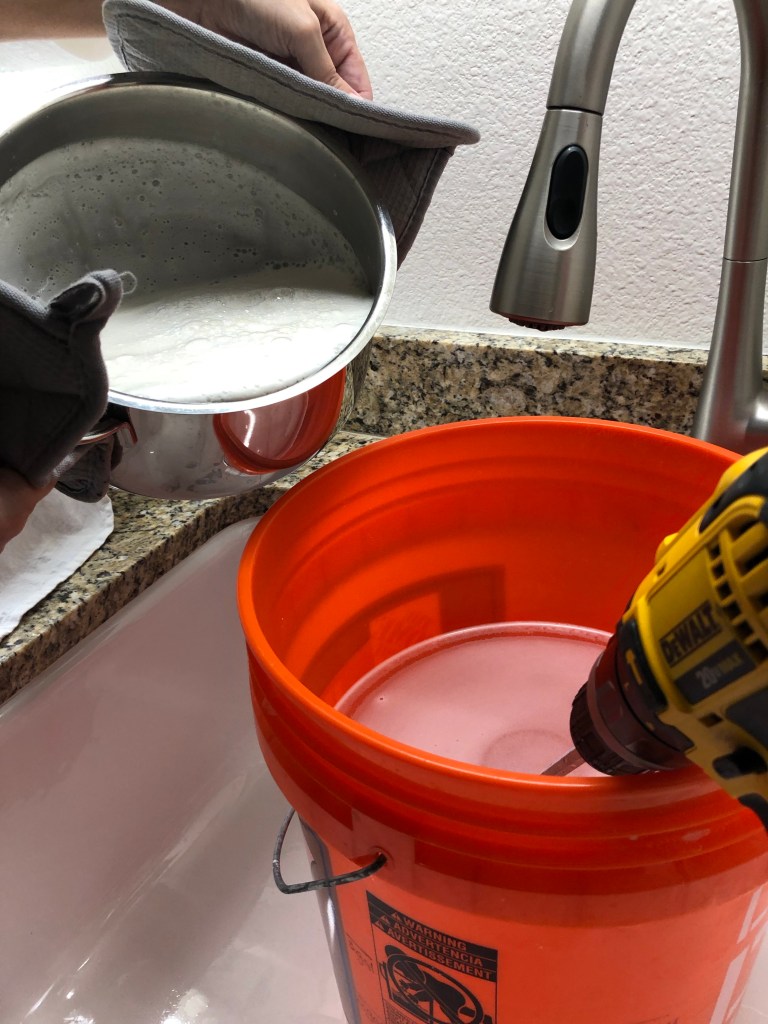
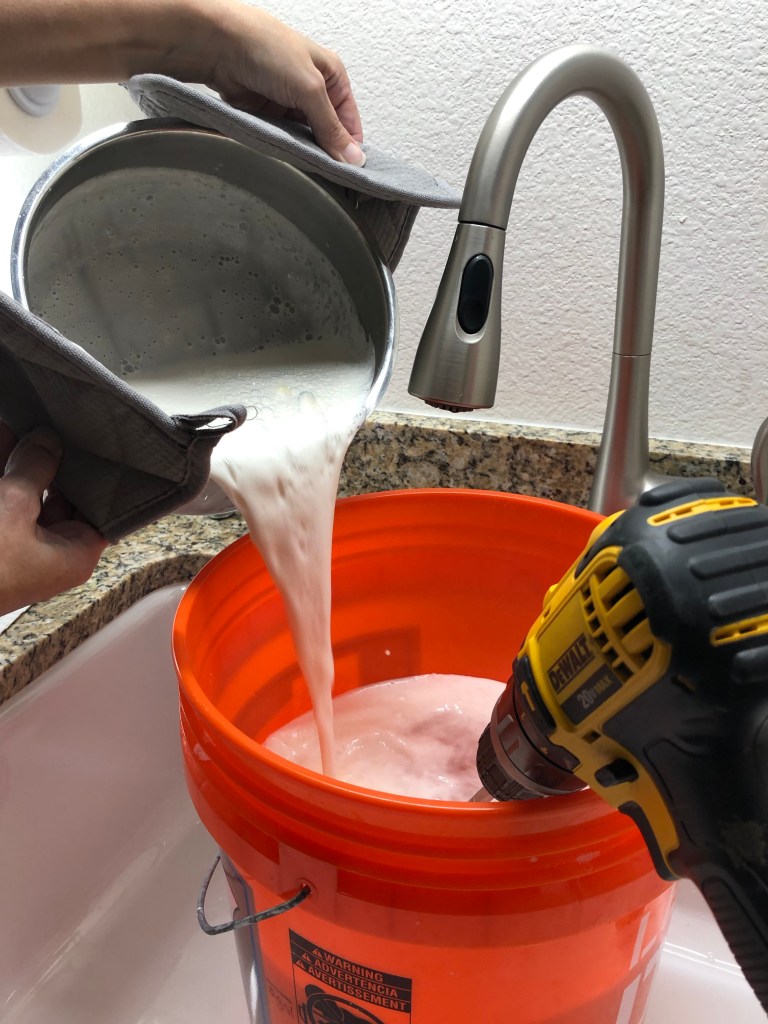


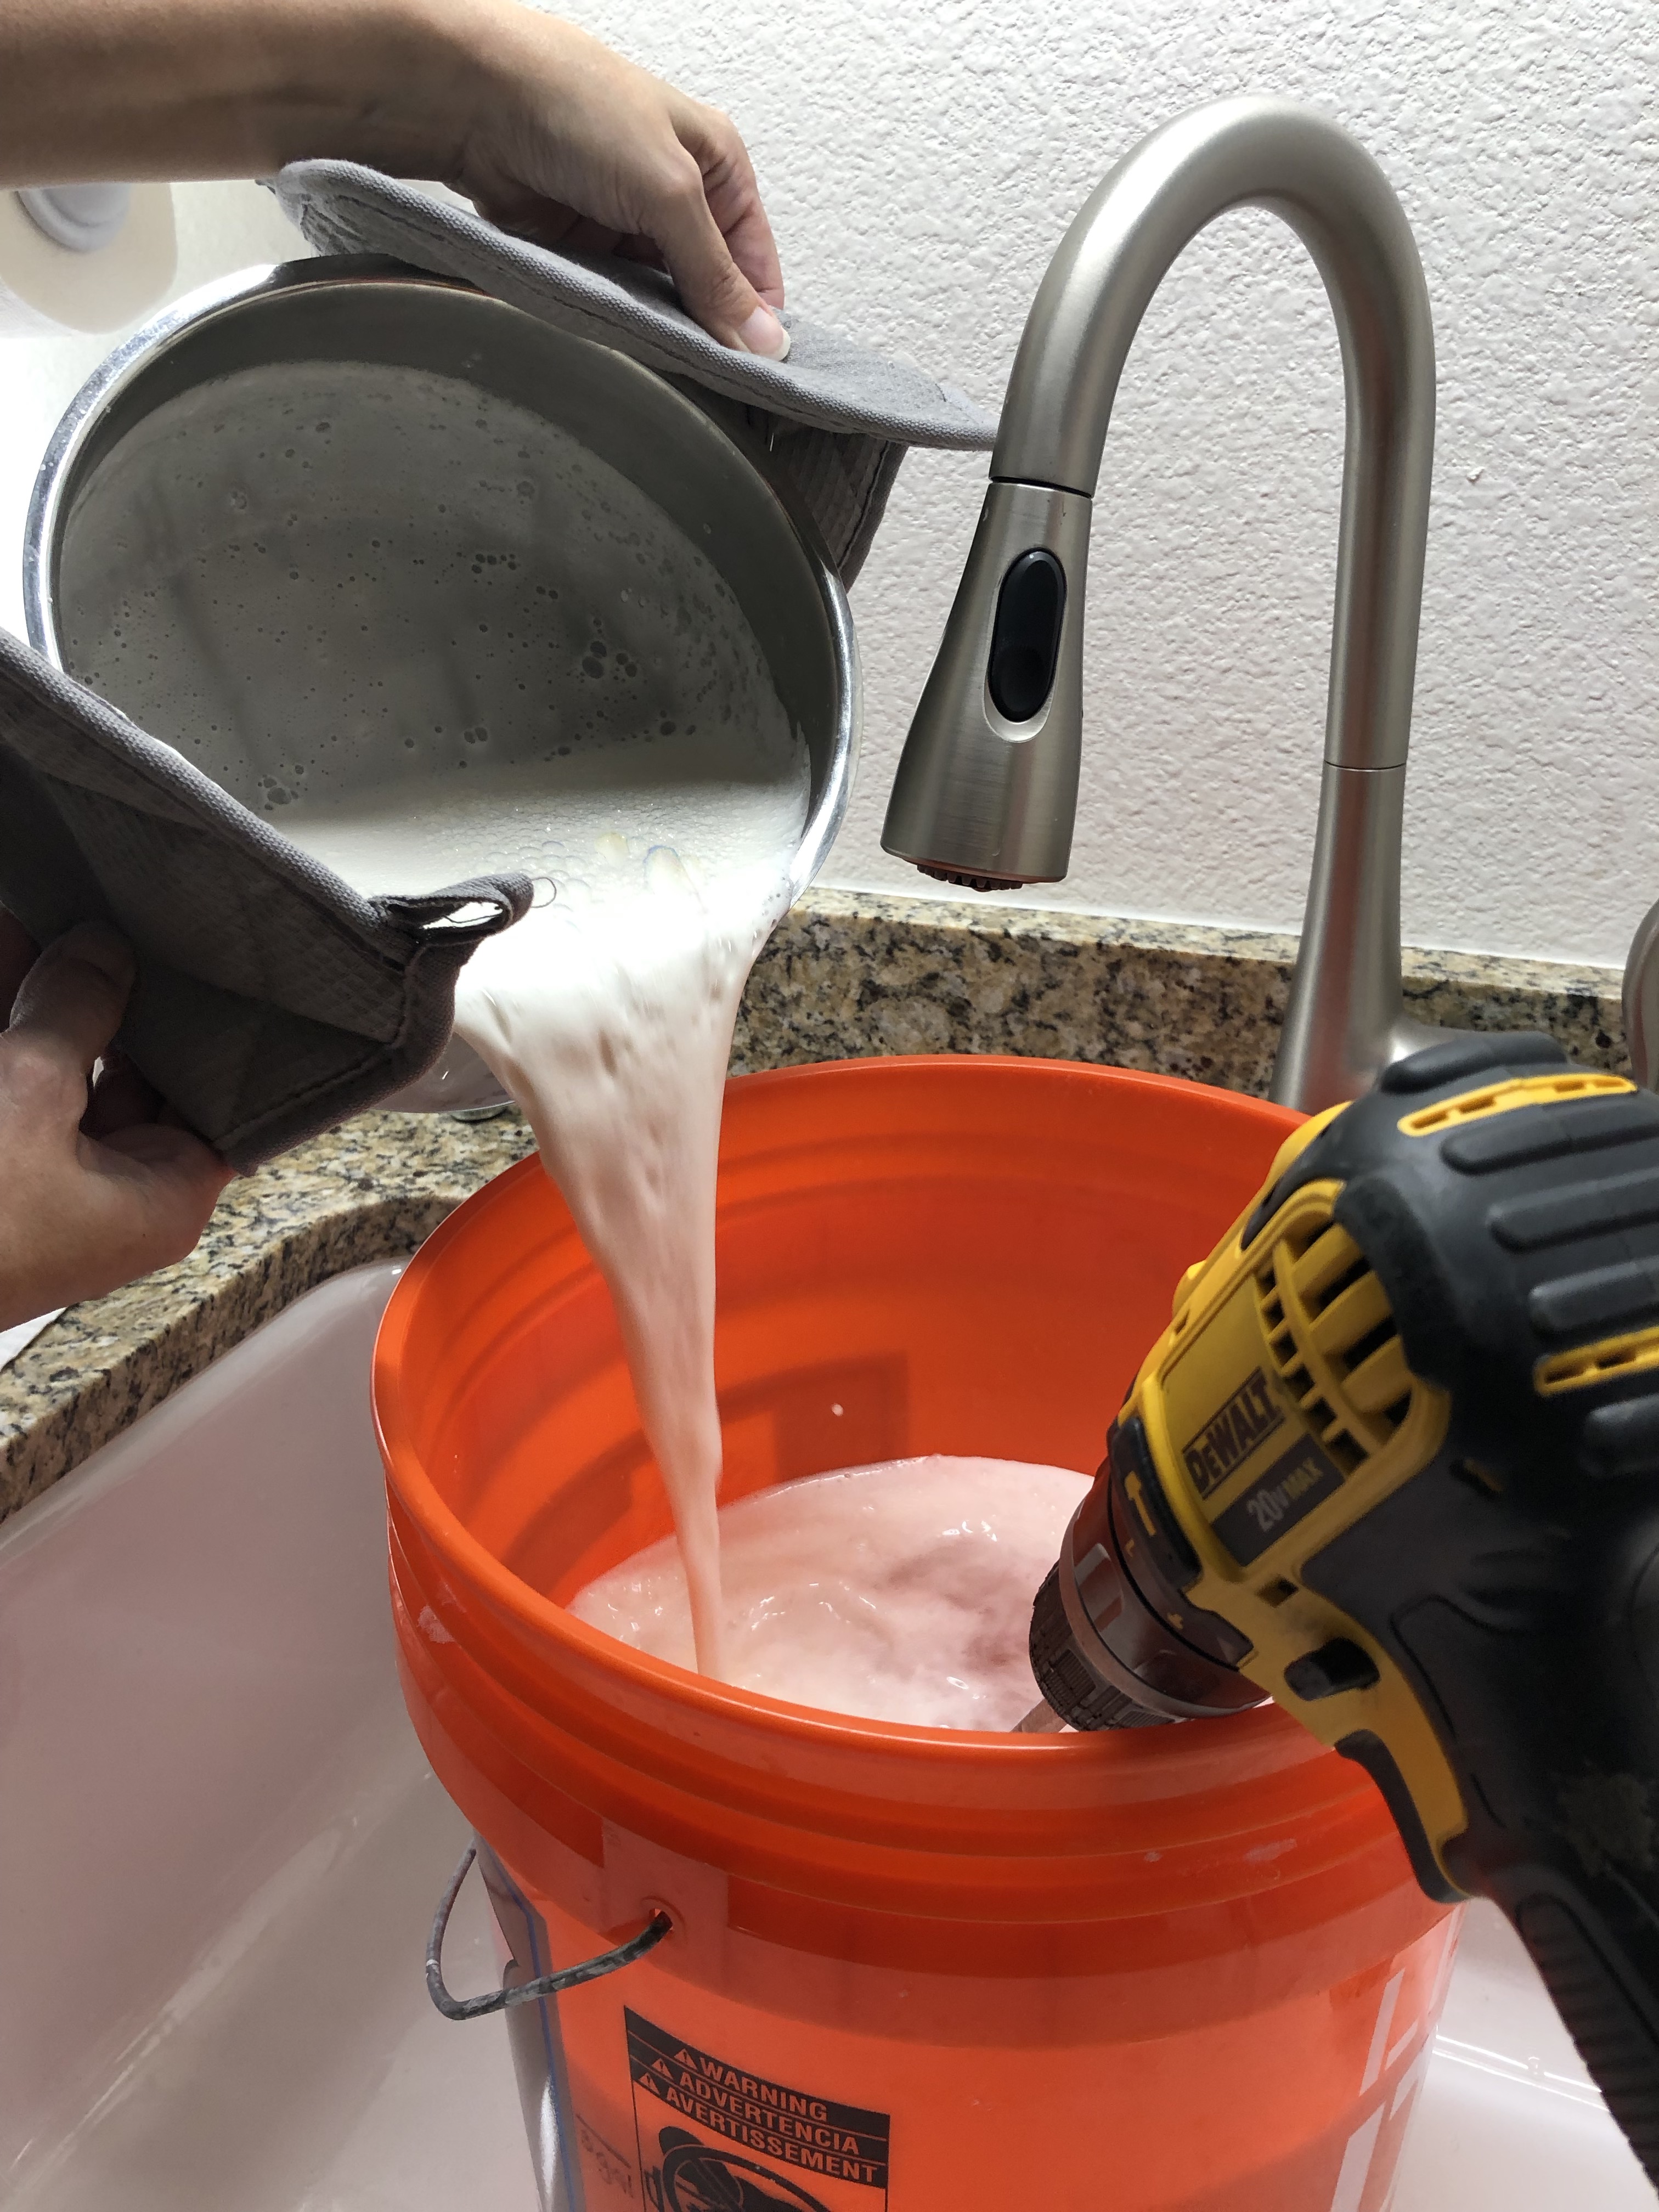
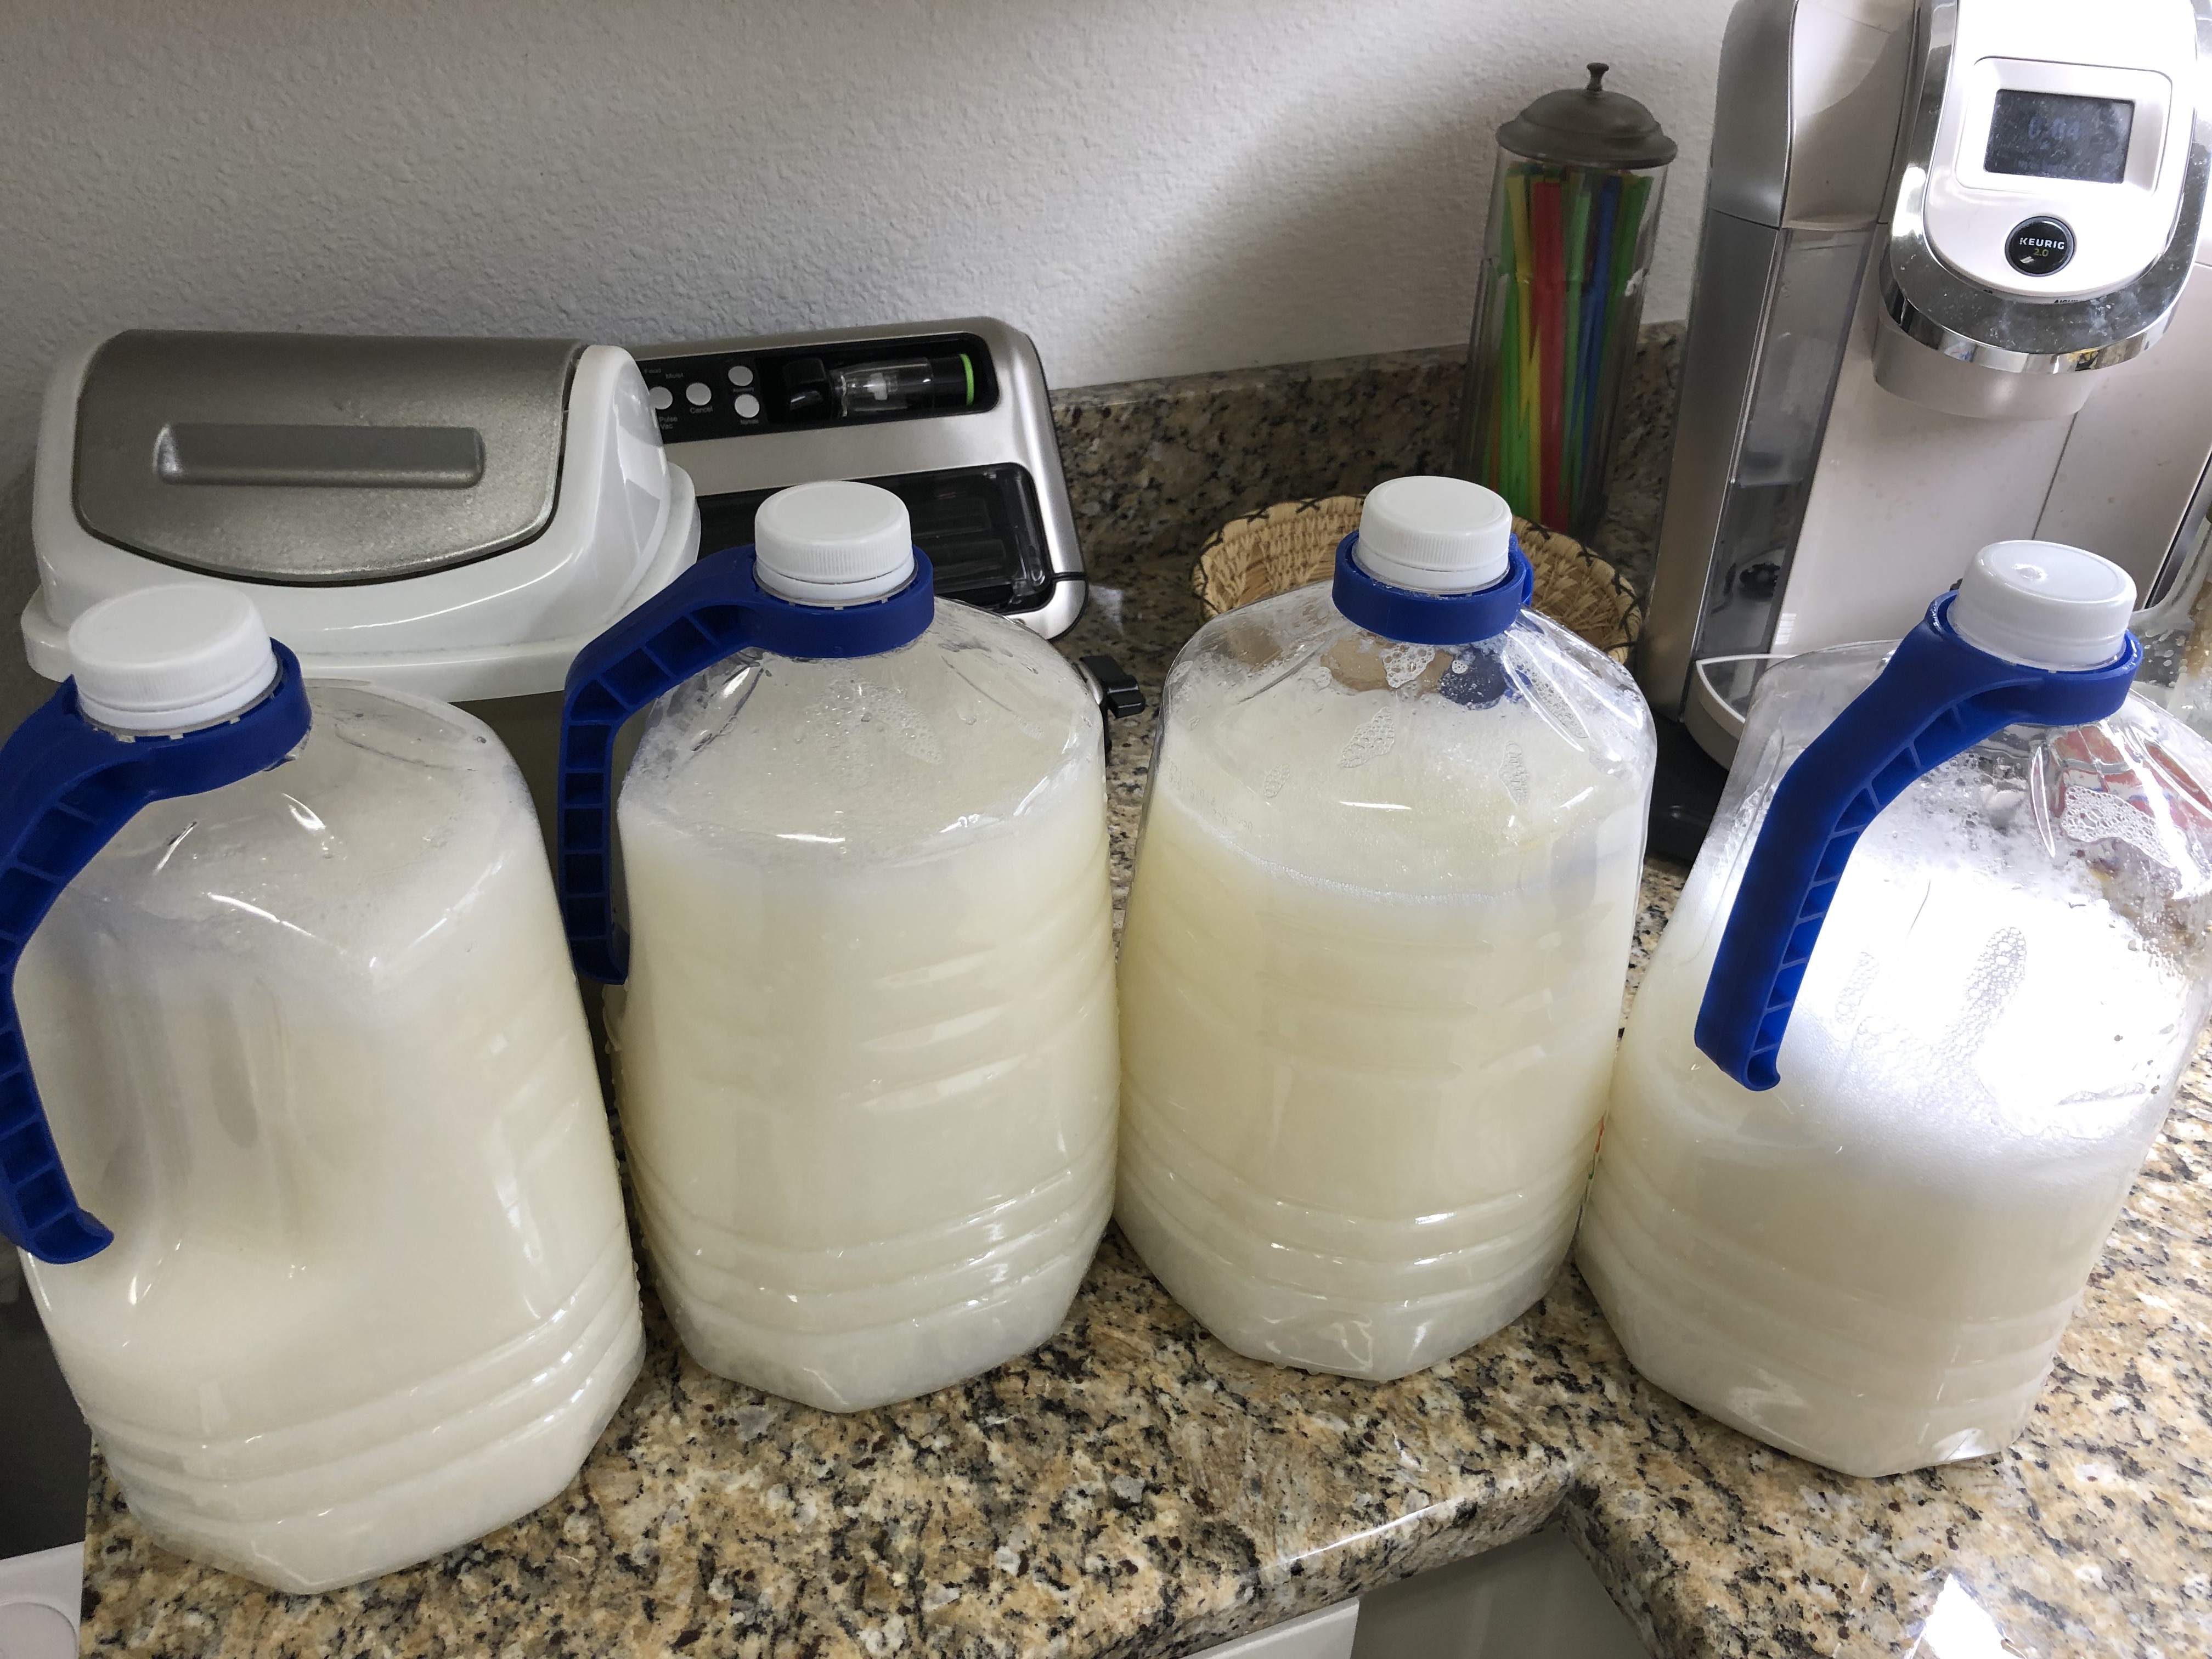
I made the soap yesterday at 3pm, it is now 8am (so about 17 hours later). It has now become gelatinous (kind of like a gelatin that hasn’t quite sat up.) . Now we get our paint mixer and begin stirring, then pour into our gallon containers.

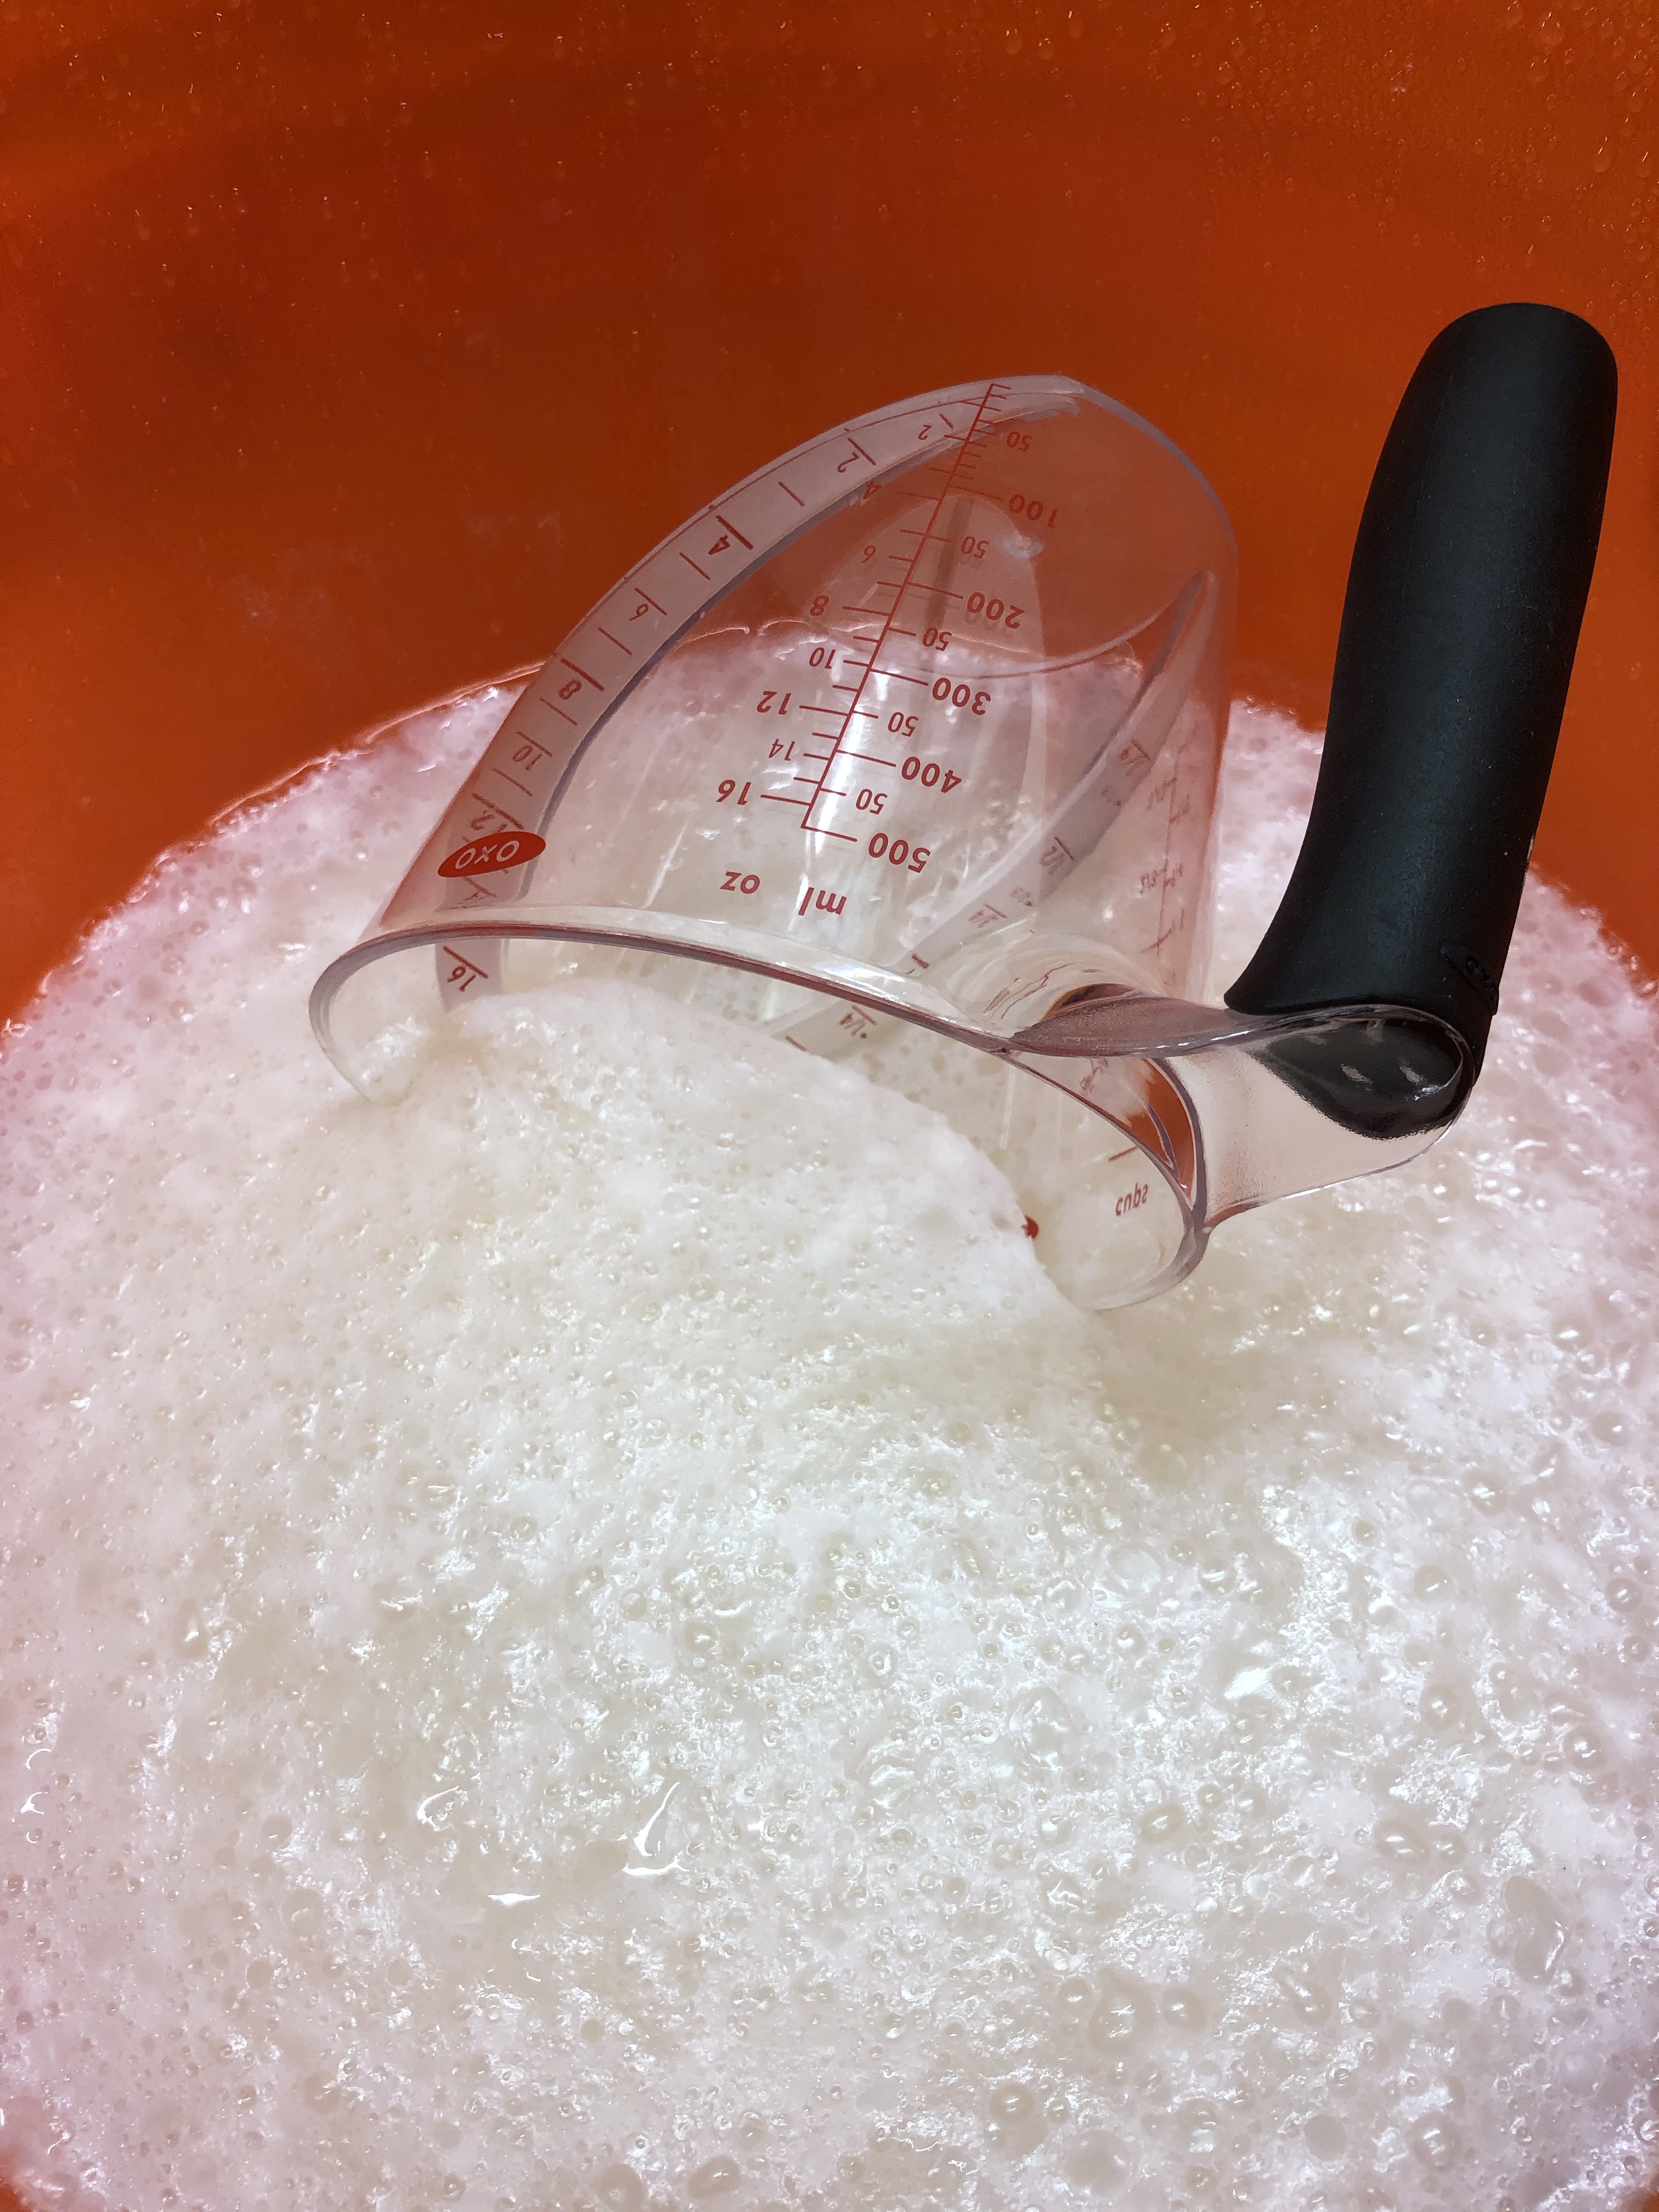
I’ve found that this measuring cup is the way to go as you can hang it on the side of the bucket without making a mess as you switch jugs.
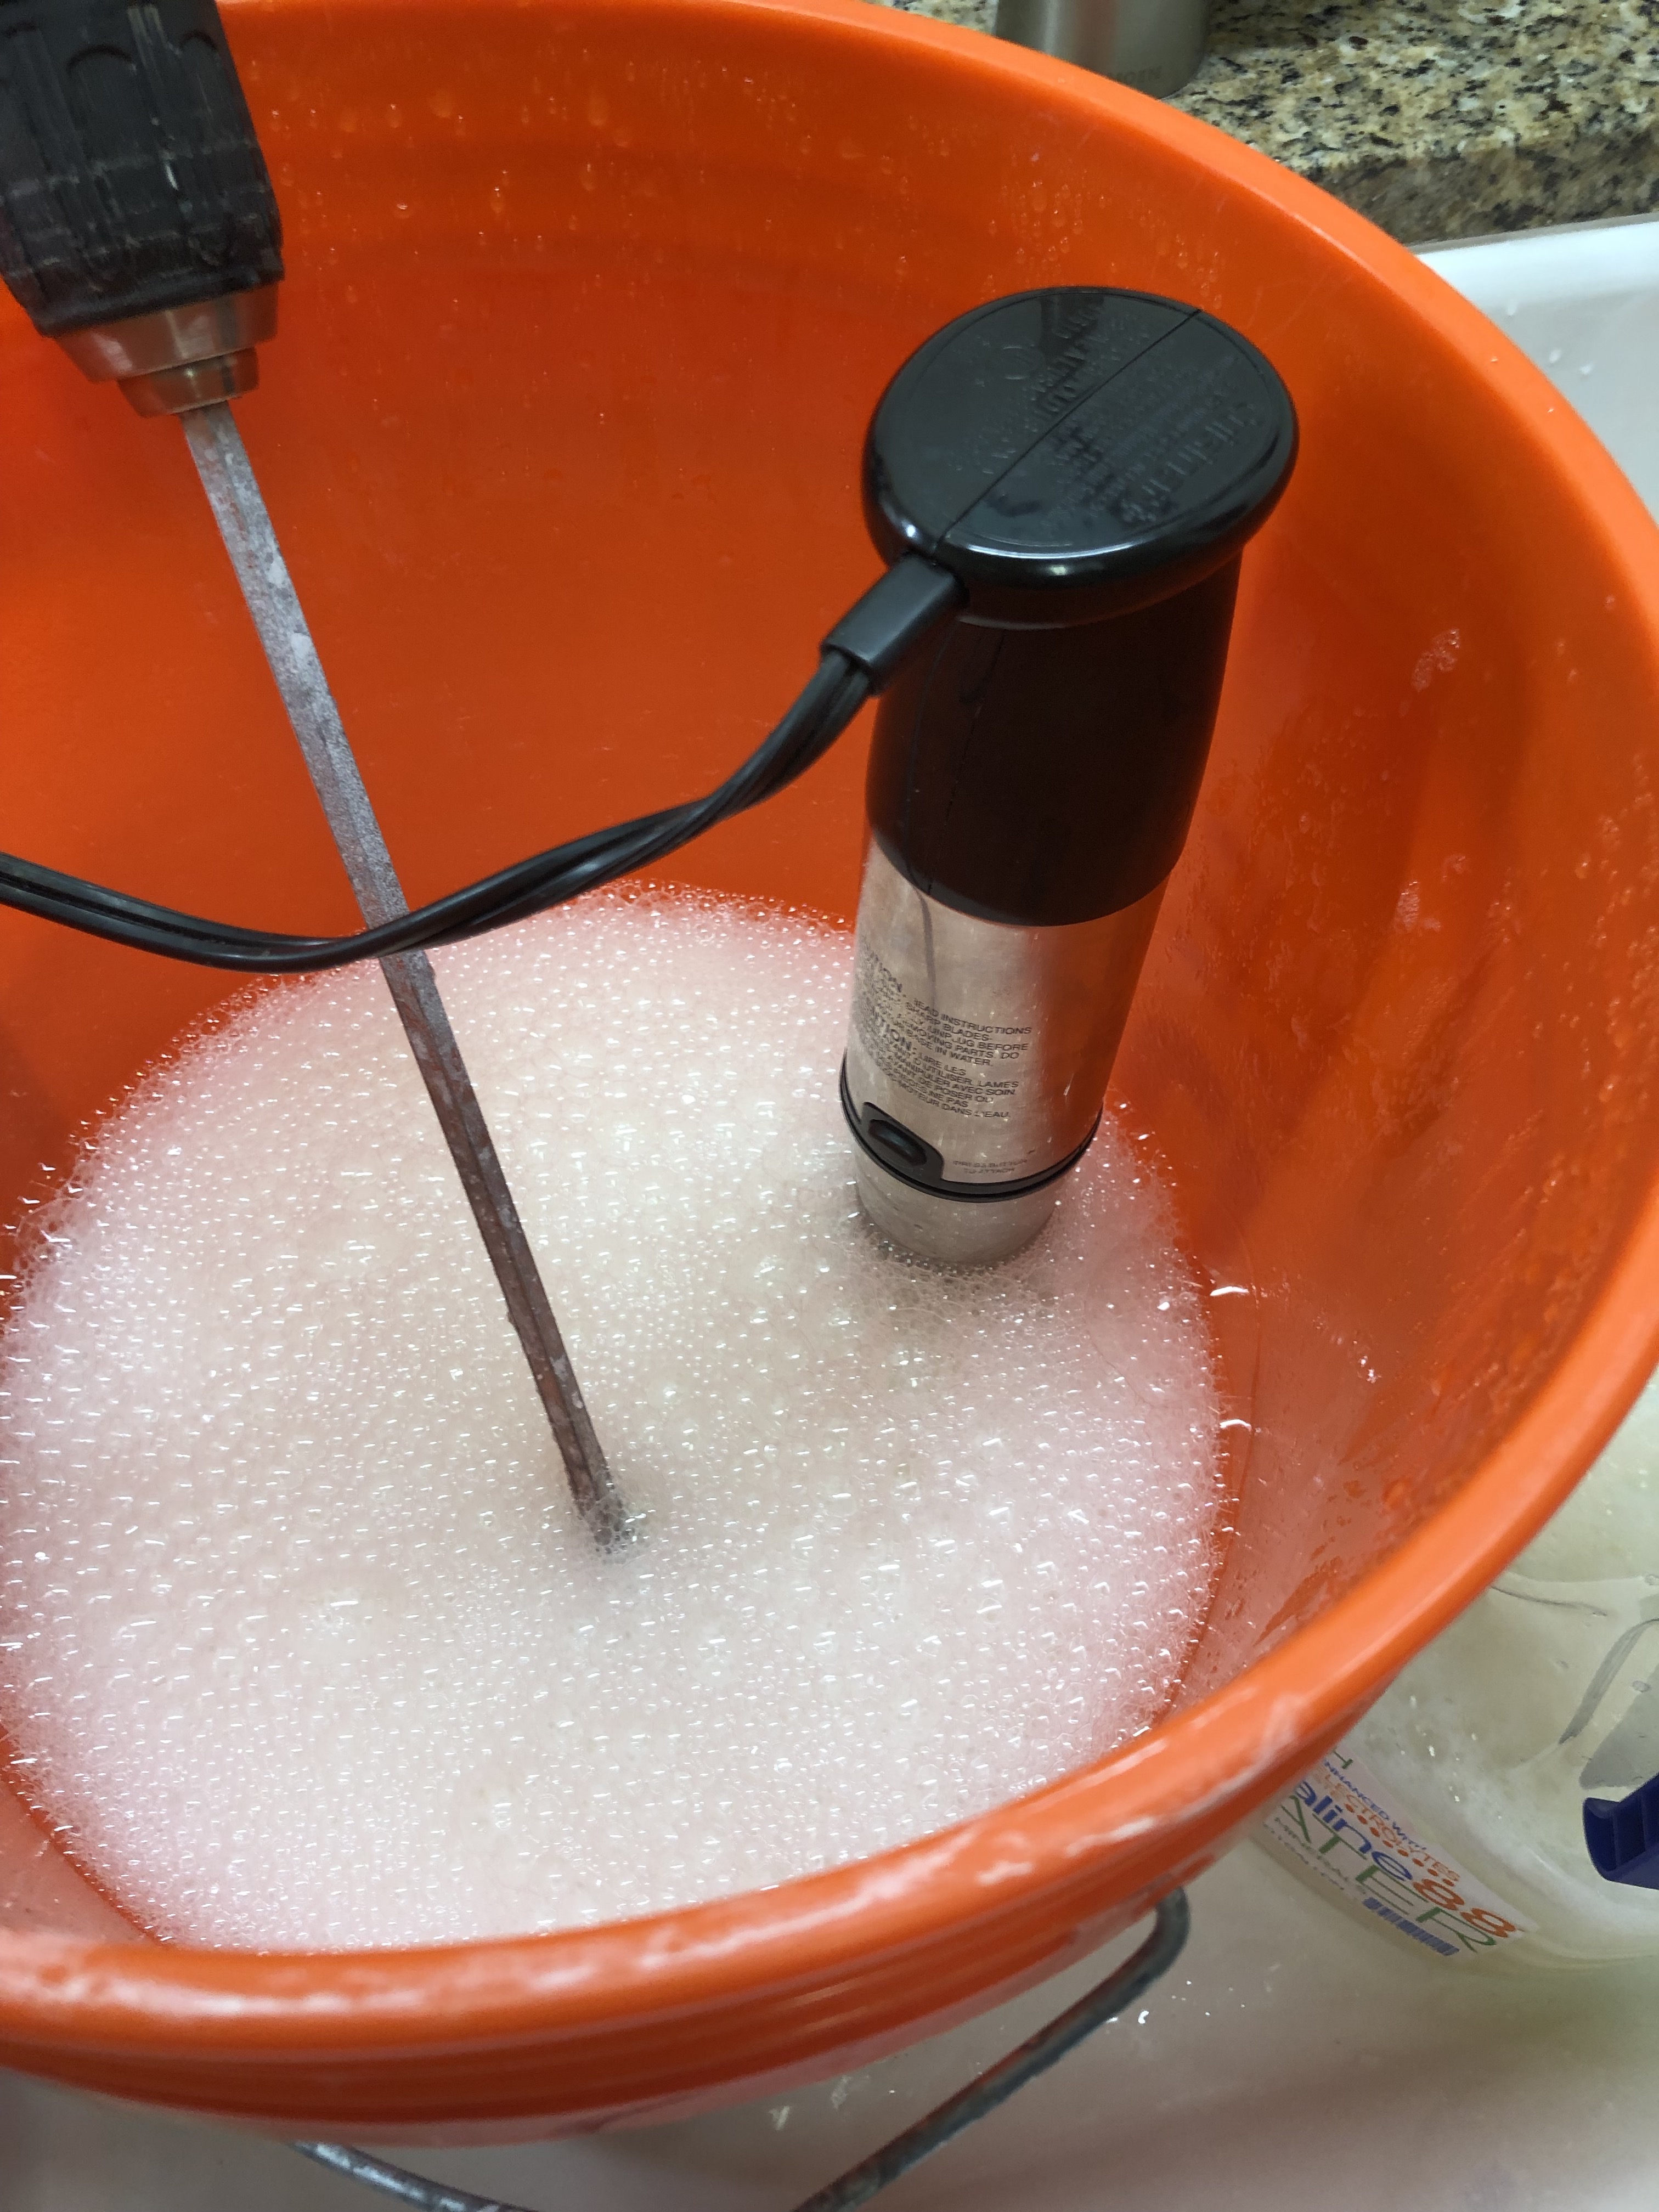
****NEWSFLASH****
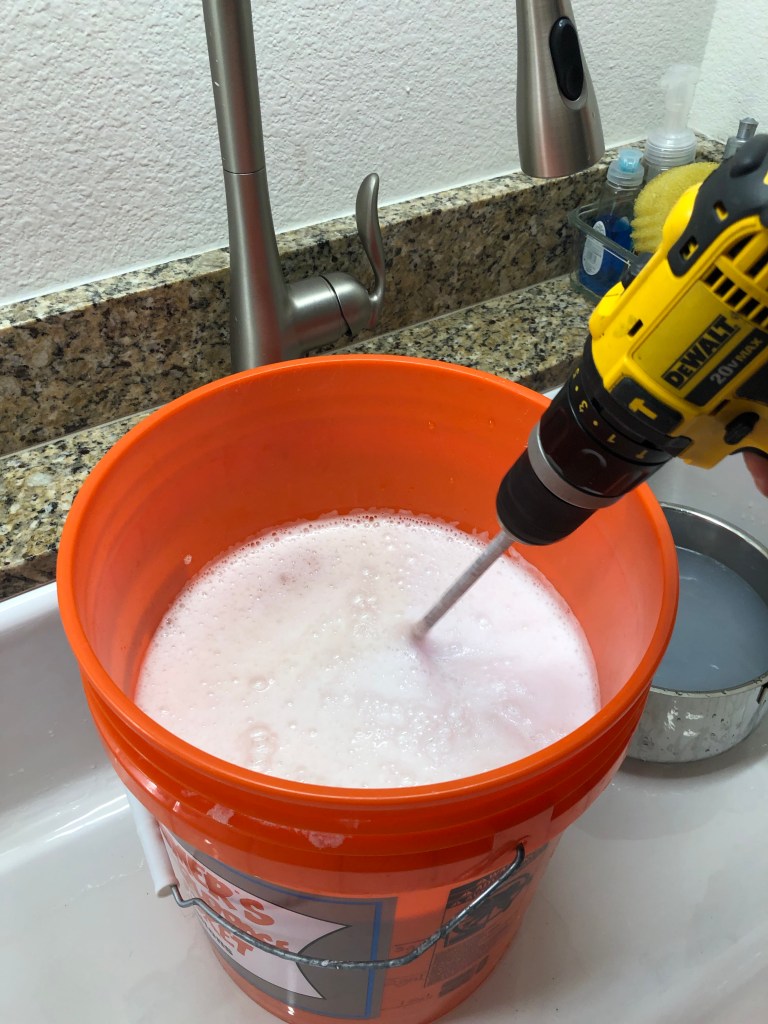
I switched back to my immersion blender after I removed one gallon from bucket and WOW did it make it much smoother. If you have one, that is the way to go! The paint stirrer leaves clumps making it harder to go through funnel. Also you will want to leave some room in each container you fill for shaking, the water tends to seperate a little as it sits, but just give it a shake before adding to washing machine.
Well, there you have it! Easy and so much less expensive! Maybe make hash marks on your 5 Gallon bucket so you can keep track of all the money you are saving. (I wish I would have thought of that earlier!) . My husband said he wished we would have started this years ago, thinking about all the money we wasted on name brand cleaners! I have taught all 3 of our daughters how to do, they now can do it for the family.
