
Instant Pot “no-strain” Yogurt

I recently switched from using my “old school” yogurt maker to using my Instant Pot (IP) for yogurt. I had read about the various ways to make it with the IP, but they all seems so laborious! The old makers are GREAT and SUPER easy, so I decided to try the same method with my IP. Here is a picture of one of my makers, I have picked up several over the years from thrift stores and eBay as they are no longer being made and I really do feel that they are the best. The nice thing about these makers and the IP is you can use common Mason jars instead of the special jars that come with the makers. (I use 1/2 pint jelly jars not shown in picture.)
This yogurt is so inexpensive and easy. I will never buy yogurt again. You can start with any kind of milk you would like, they all work the same with this recipe (the only adjustments you may need is a little extra dry milk if you use skim milk.) You can also use Greek or regular yogurt to start it, just make sure that your starter is plain and sugar-free.
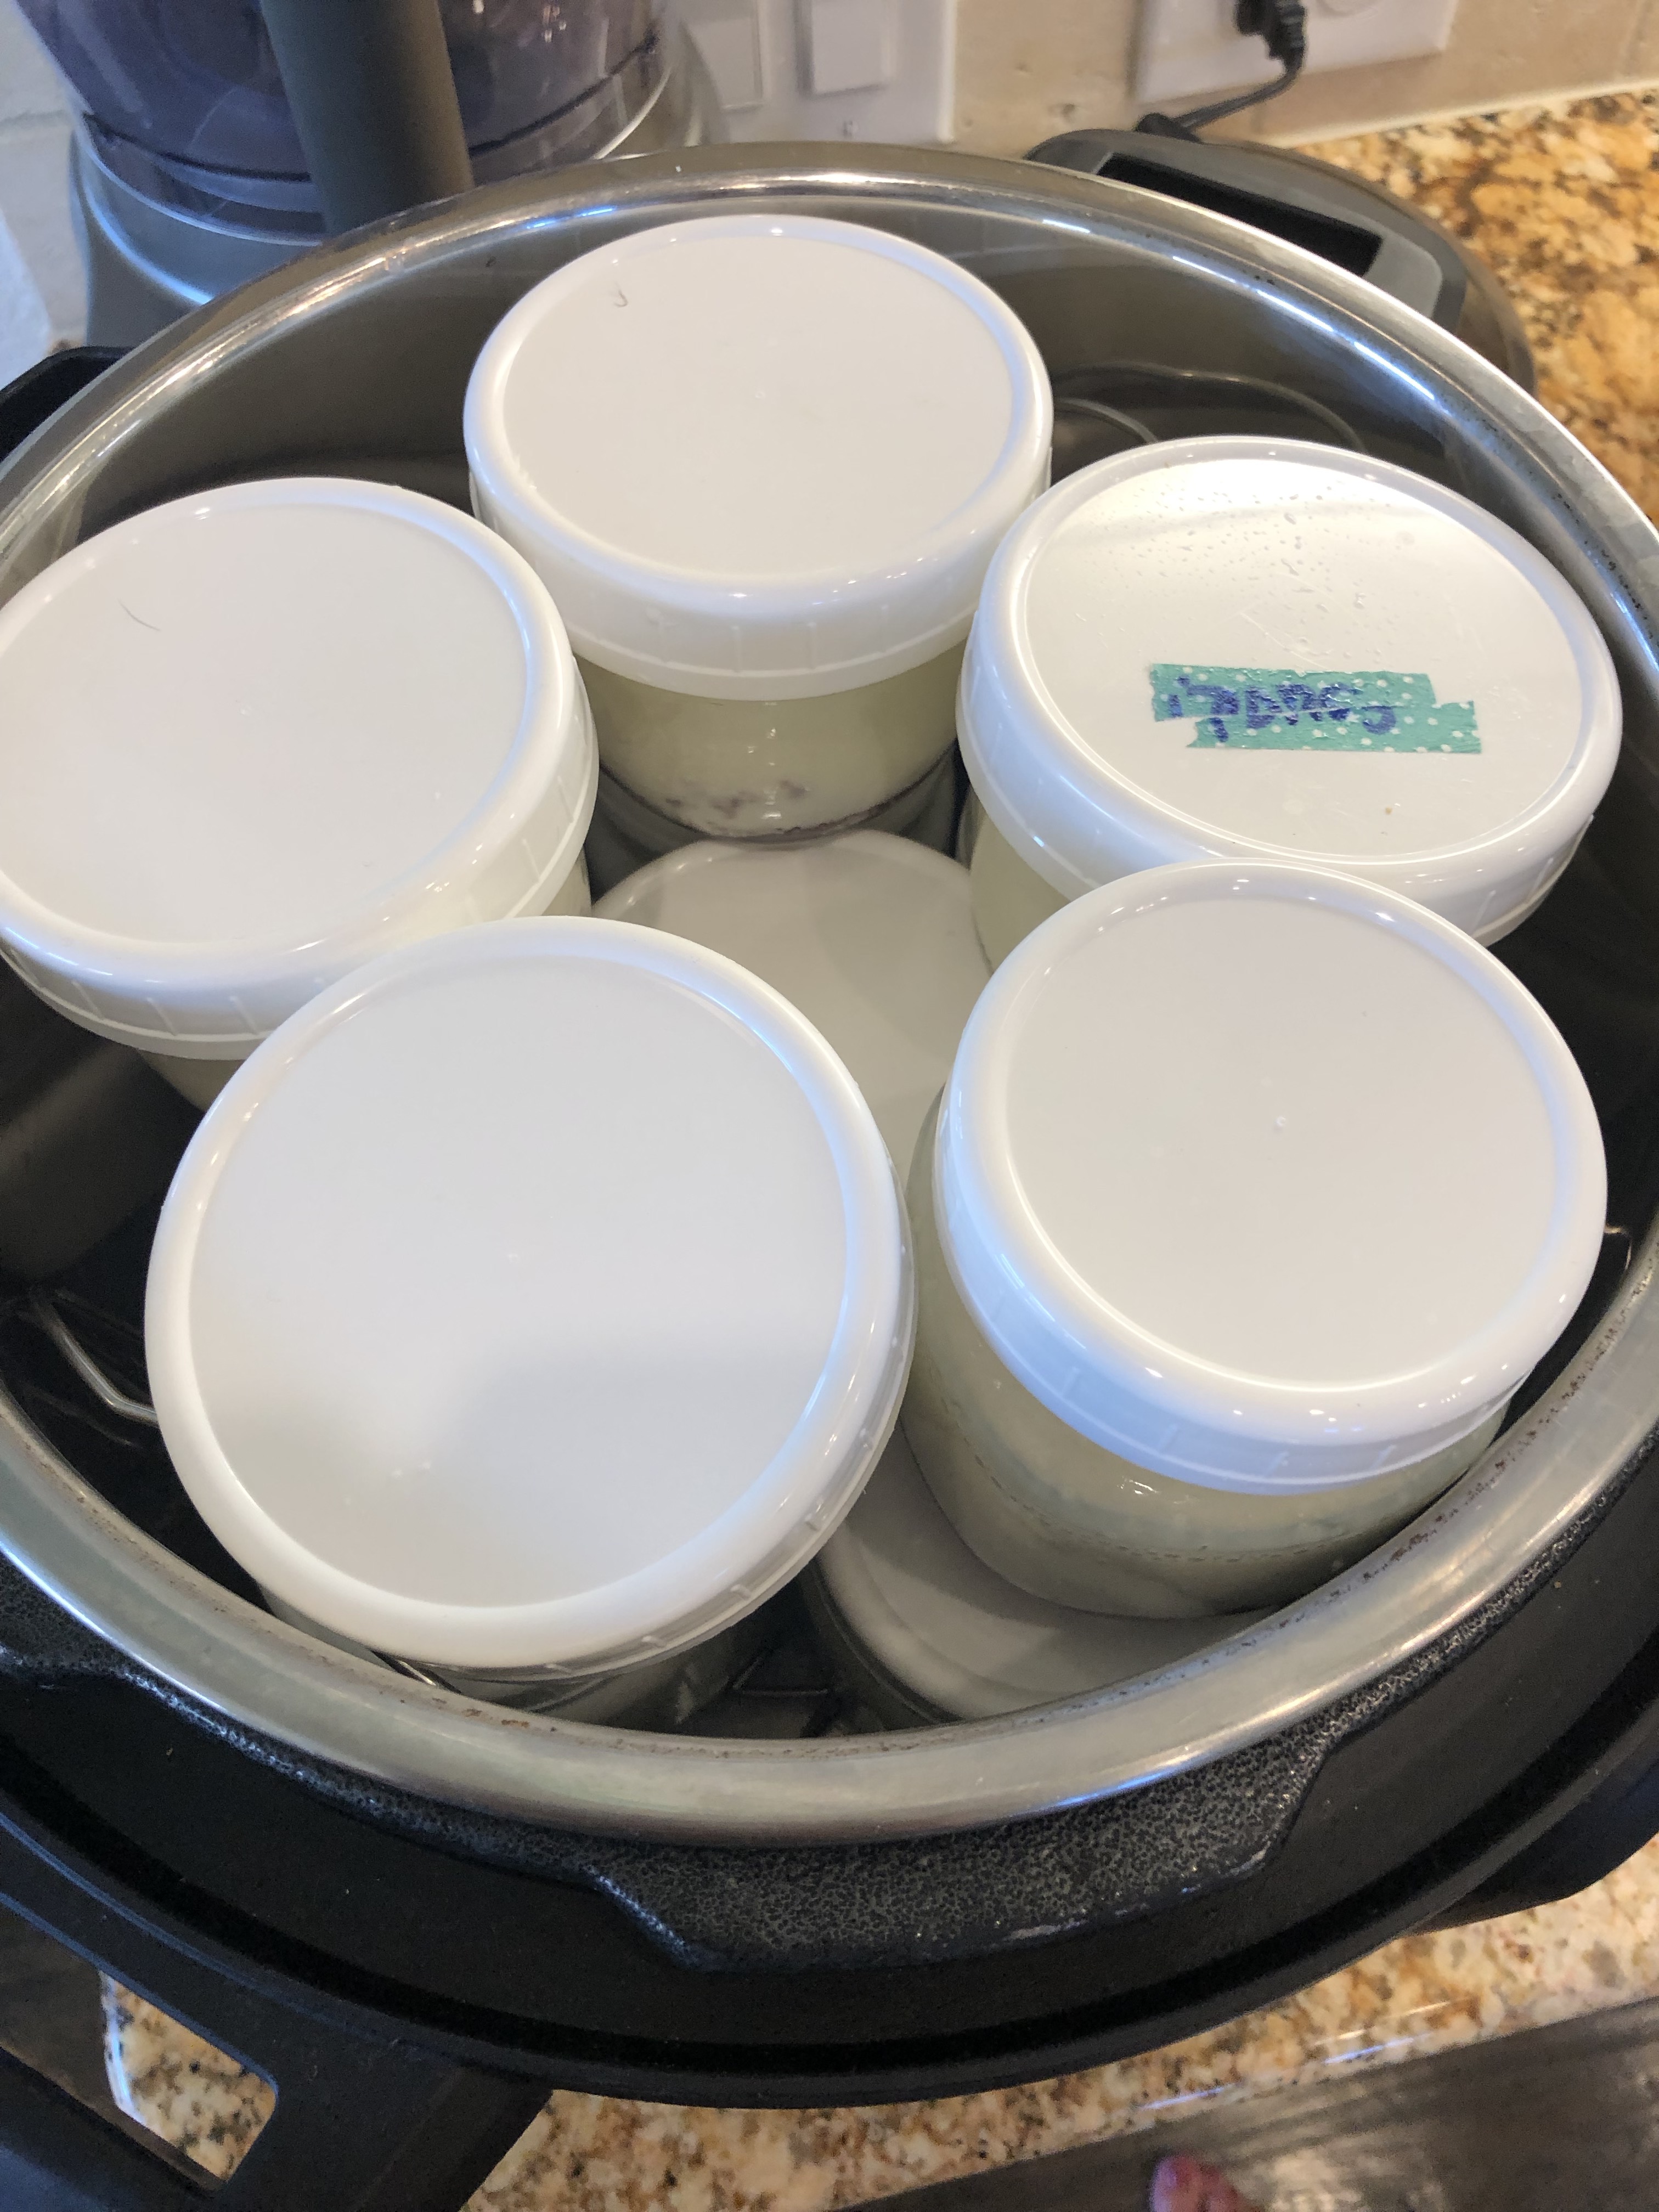
I have the large 8 quart IP and can fit between 10-11 half pint jars in 2 layers. I use a loose fitting glass lid, but you can also use your IP lid just leave steam release on so that pressure cannot build. I cover mine with a kitchen towel to prevent any heat from leaking out.
With all of the IP methods the yogurt is made and then put into containers, but I think that cooking it in the IP in a big batch allows the condensation to form, and the yogurt then needs strained. Using my method and covering the jars with lids (see link below), it keeps the condesation moisture from forming. I have NEVER had a runny batch that needed straining. I think if had to strain it, I wouldn’t make it! I’m all about easy!!!

Ingredients:
All of these measurements are approximate! It is a very forgiving recipe, as mentioned before, you can adjust dry milk if yours isn’t thick enough for you.
- 8 cups of milk (adjust according to the amount of yogurt you are making)
- 1-2 Tablespoons of jam (optional) I leave some plain and my daughters make them like the “Flip” type yogurts with chocolate chips, coconut, and granola.
- 1/2 cup of dry milk (I use the Walmart brand)
- 2 Heaping Tablespoons starter (I use the entire 1/2 pint from previous batch, you can never add to much.) If this is your first time you will need to buy a small plain yogurt at the store, use the brand and type you like. I started with a good Greek brand as you will only need to buy it once.


Directions:
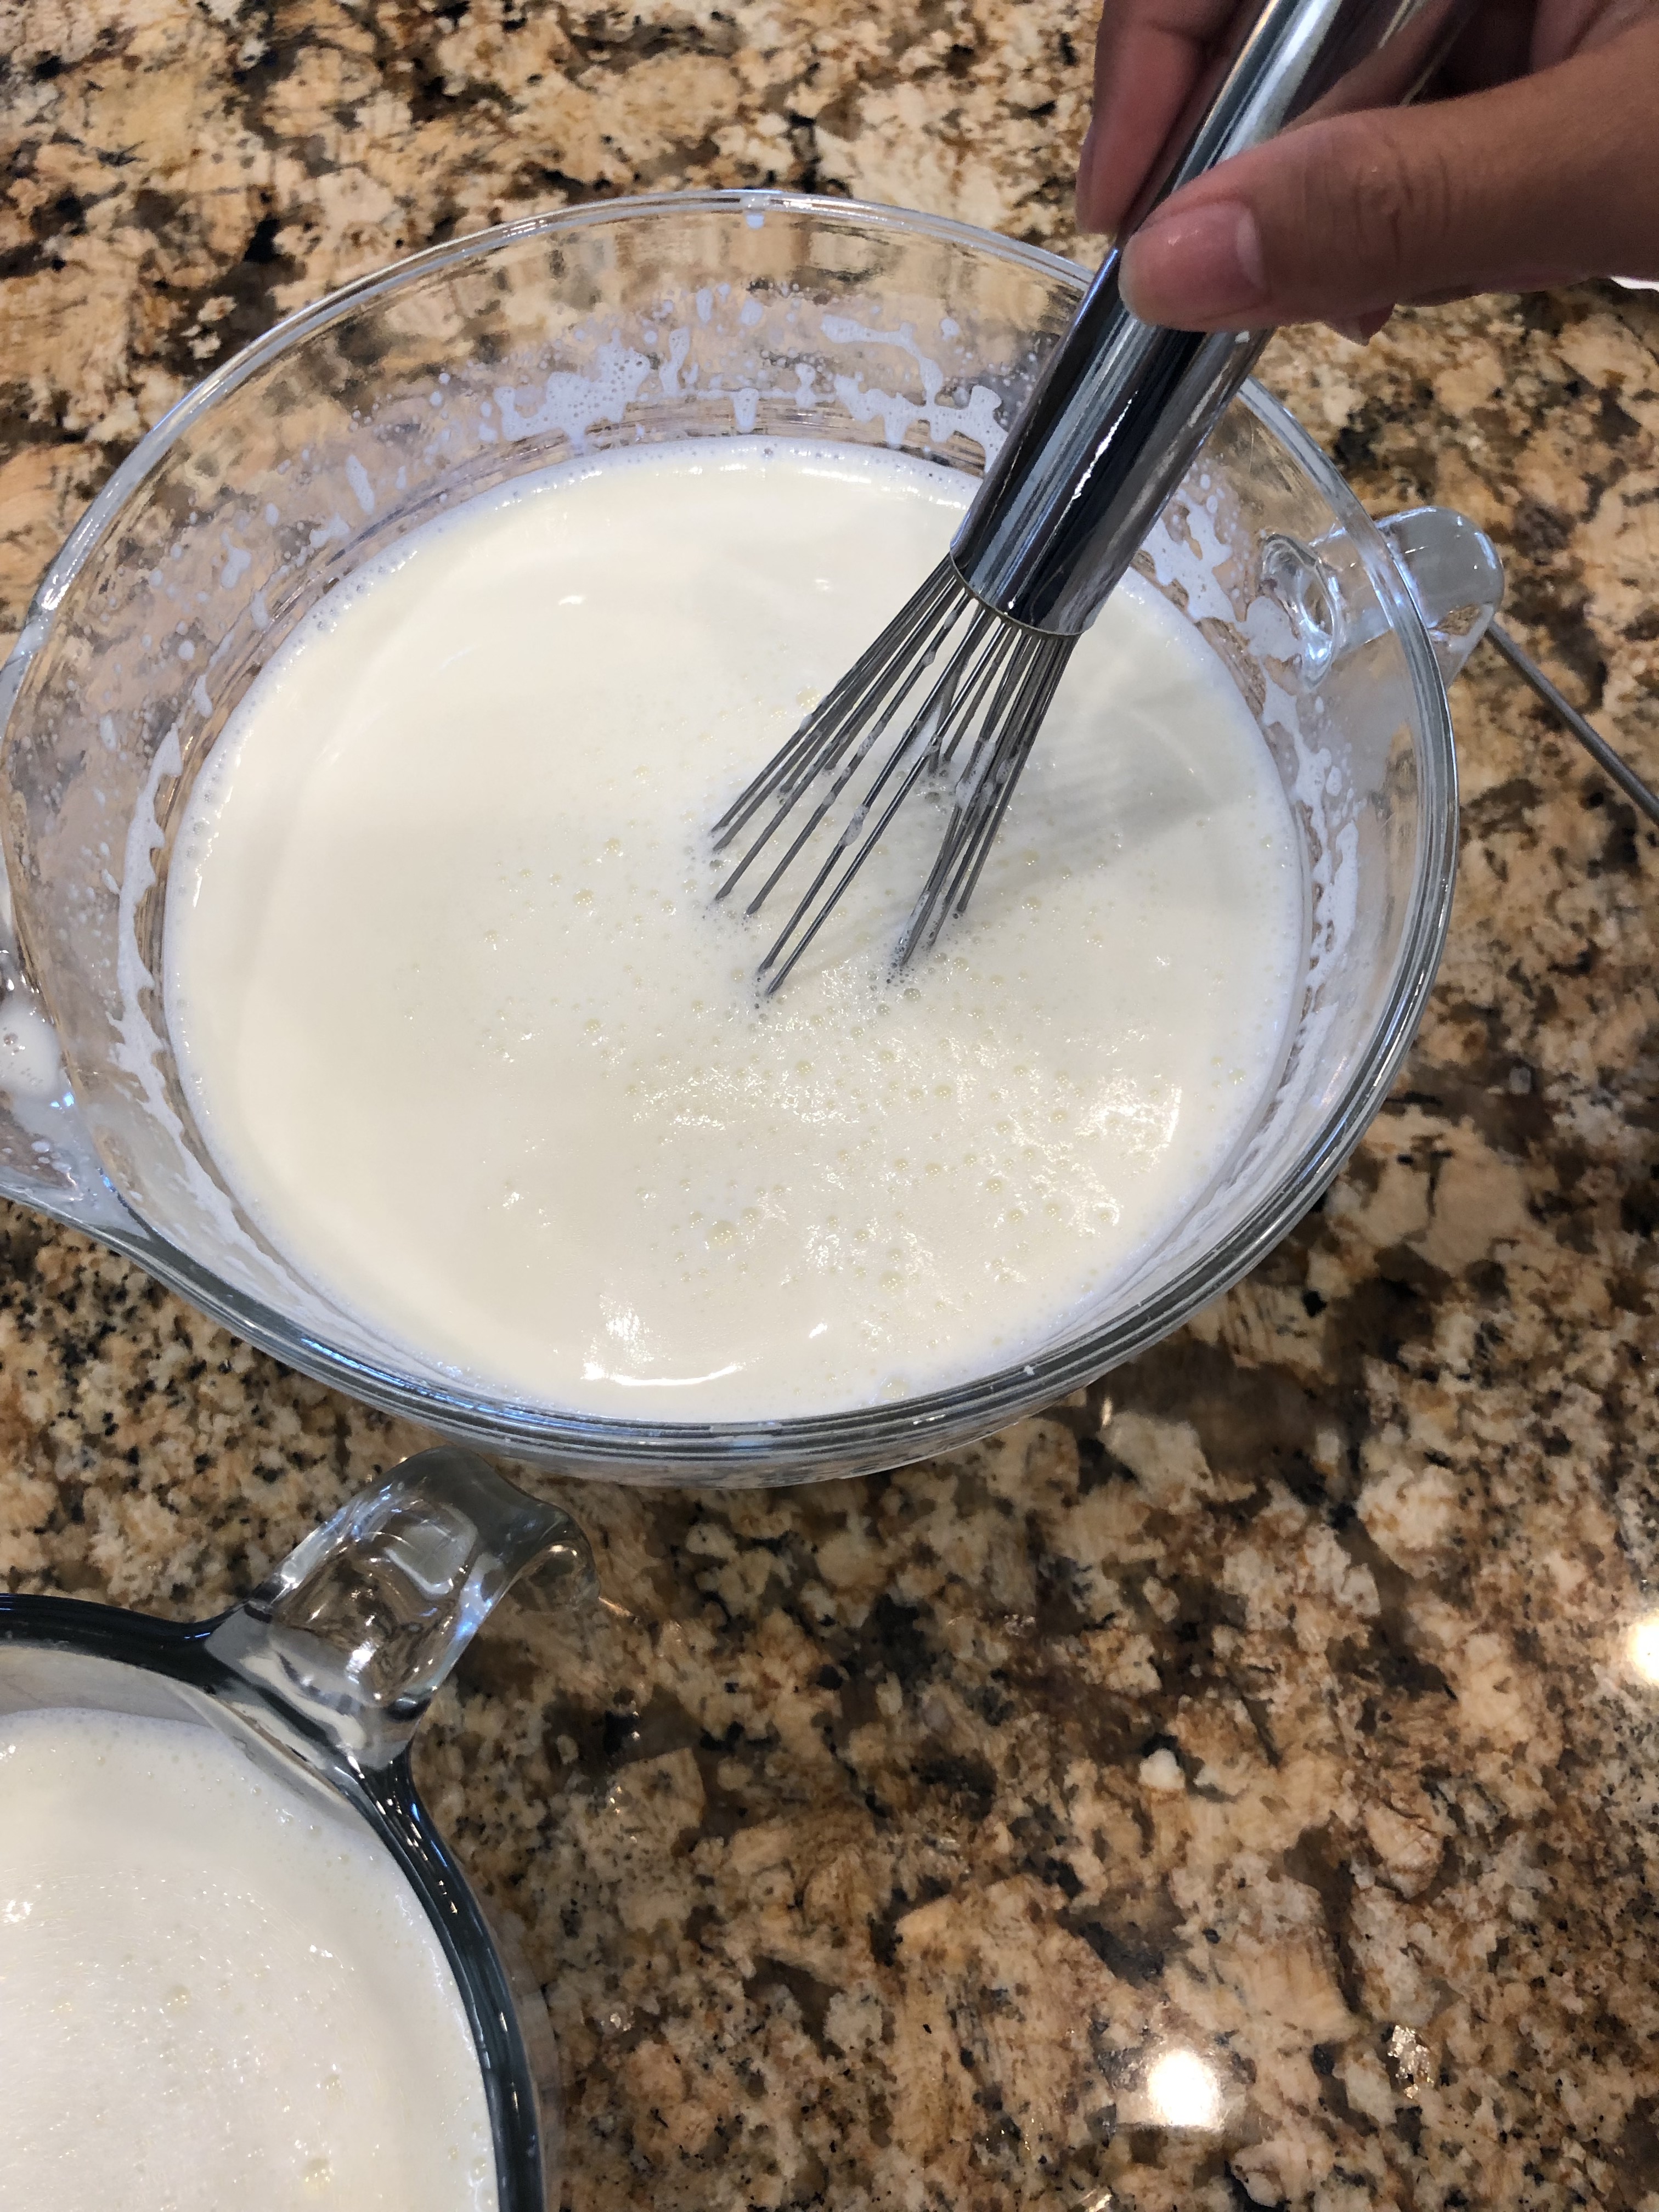
- MIX milk and dry milk in a microwaveable bowl and heat to 180℉ degrees. (It takes about 10 minutes in my microwave). You can heat it on the stove if you prefer. The important thing is to heat it to this temperature killing any bacteria that is present and will compete with the yogurt bacteria. (I have also forgotten the dry milk and added it after the heating process and mine turned out fine.)
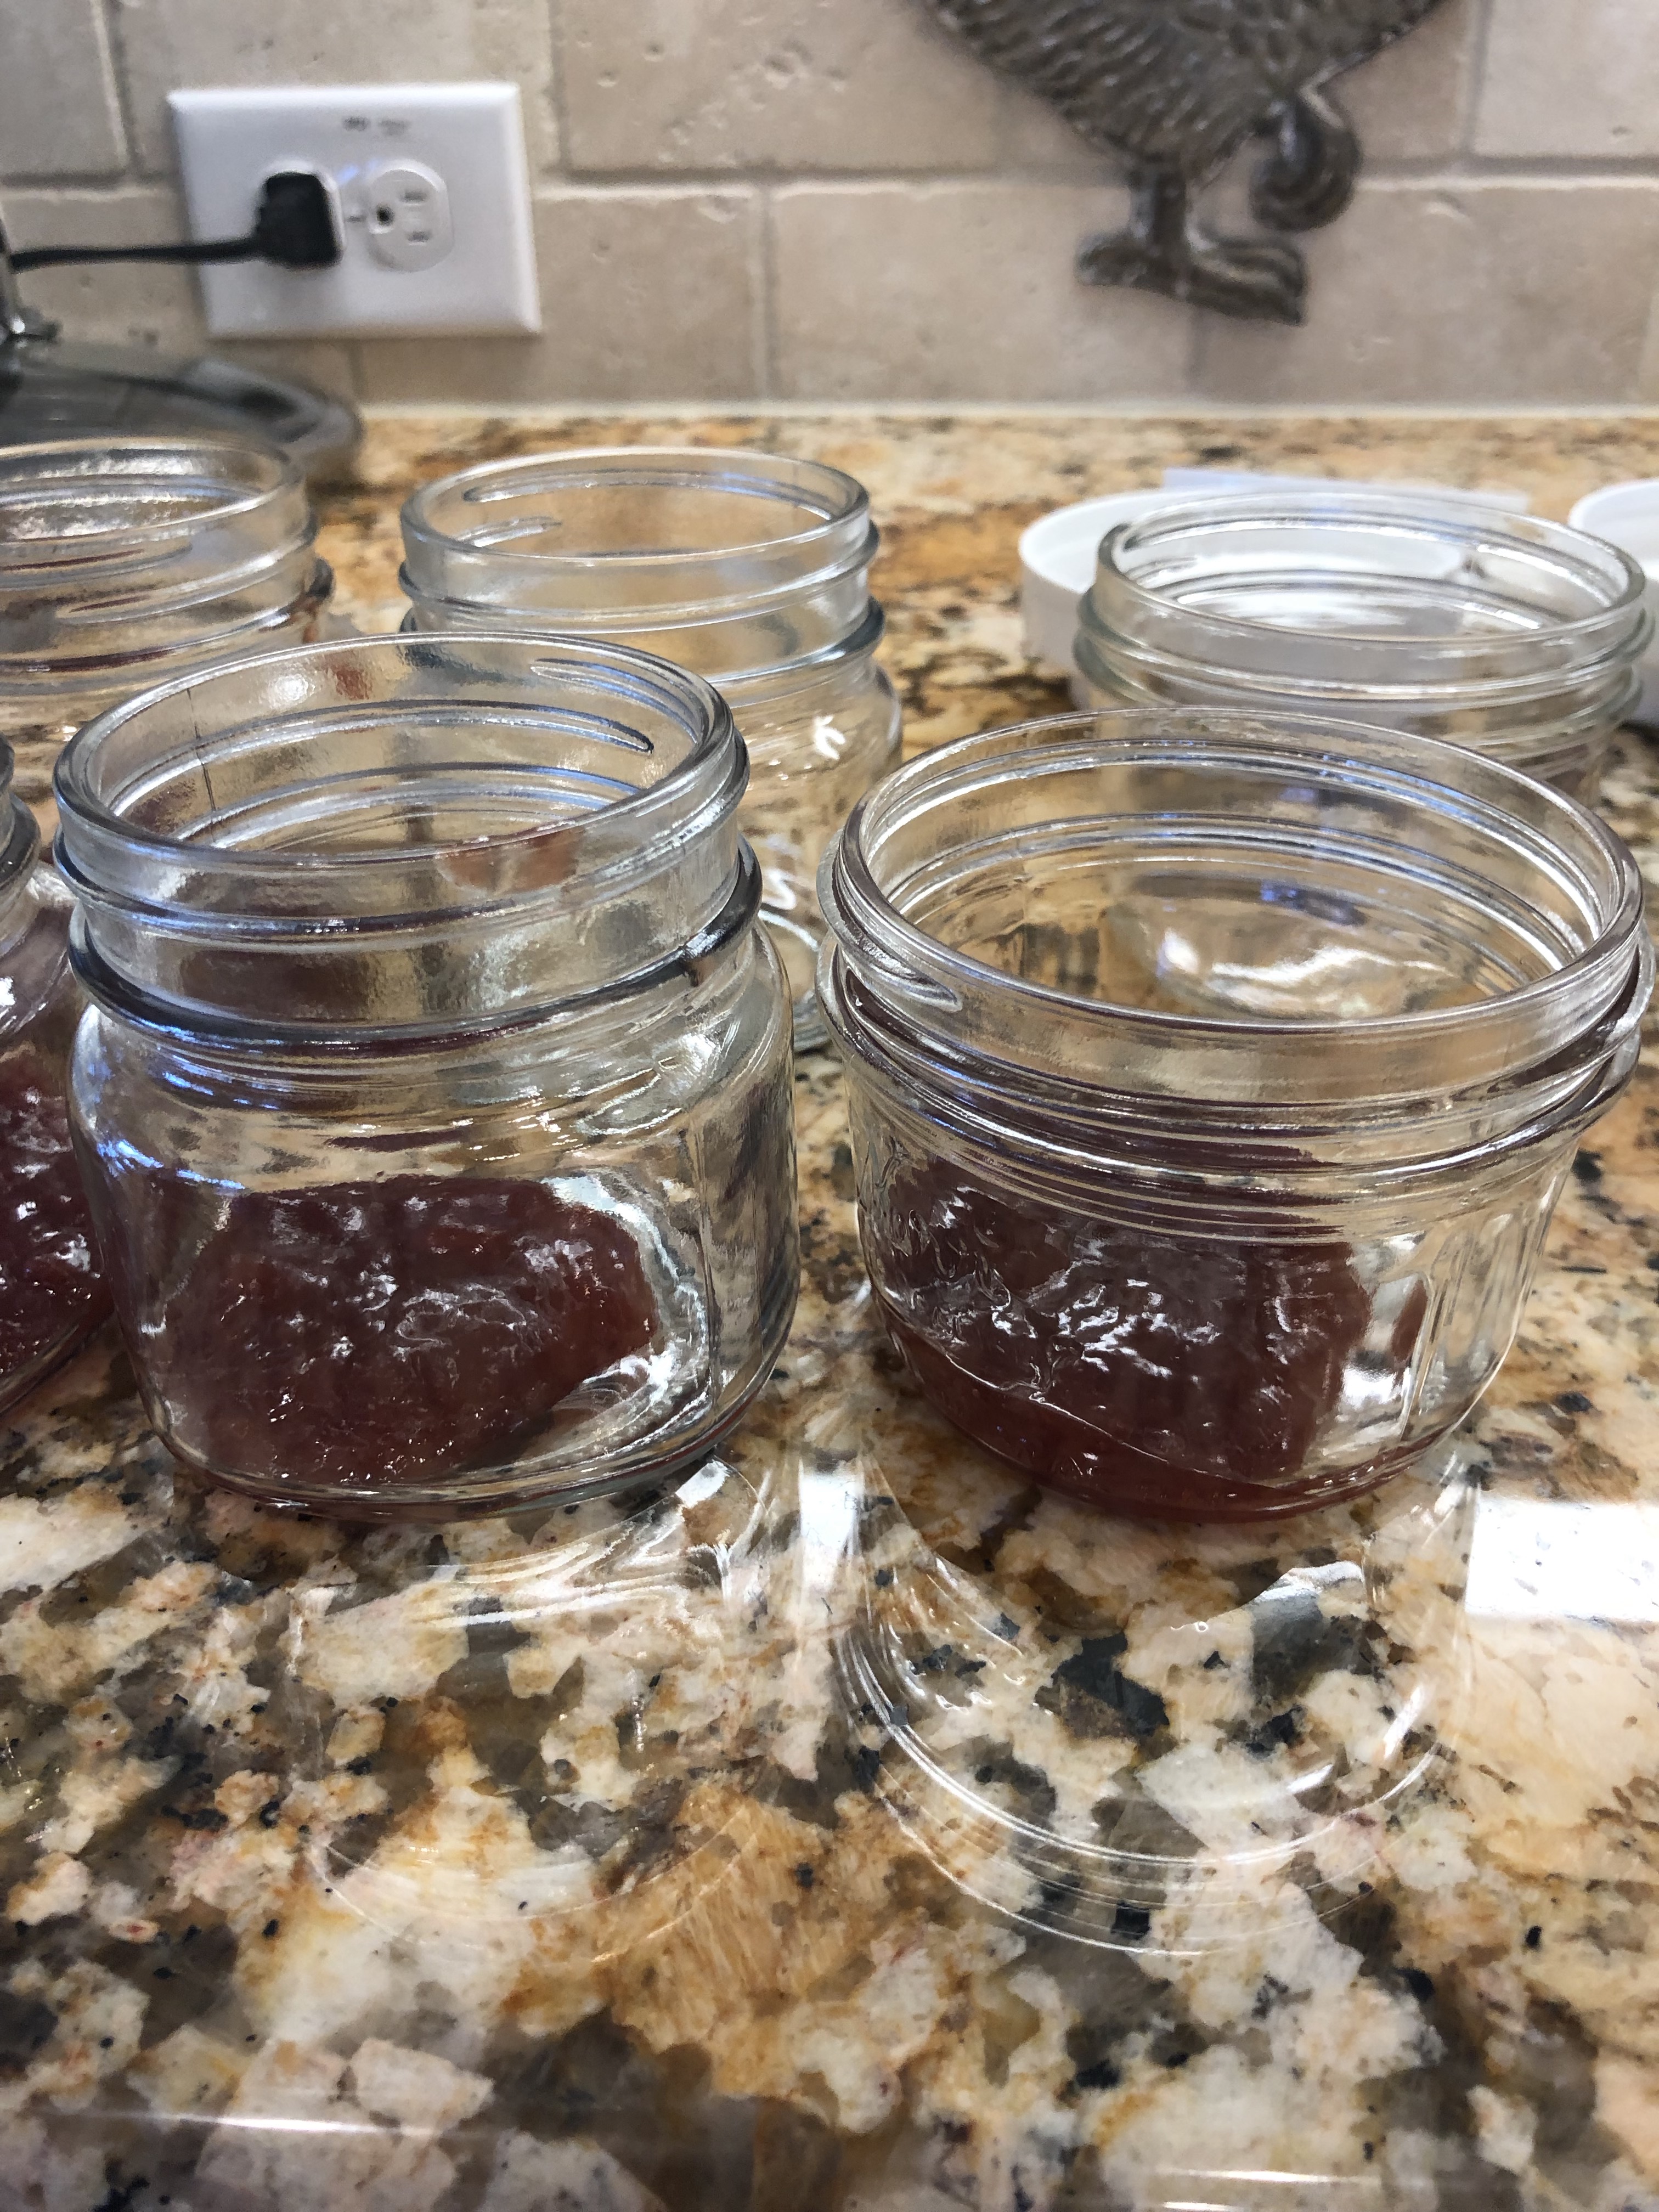
- While waiting for the mixture to cool, add 1-2 T of jam to bottoms of jars. DON’T FORGET TO LEAVE ONE JAR PLAIN FOR FUTURE STARTER.
- Allow mixture to cool to 100℉ – 130℉ you can then add the starter and mix thoroughly. (Do not add when it is hot, it will kill the starter.)
- You are now ready to pour yogurt mixture into jars and cover jars. (I buy these lid covers at Walmart and reuse them.)
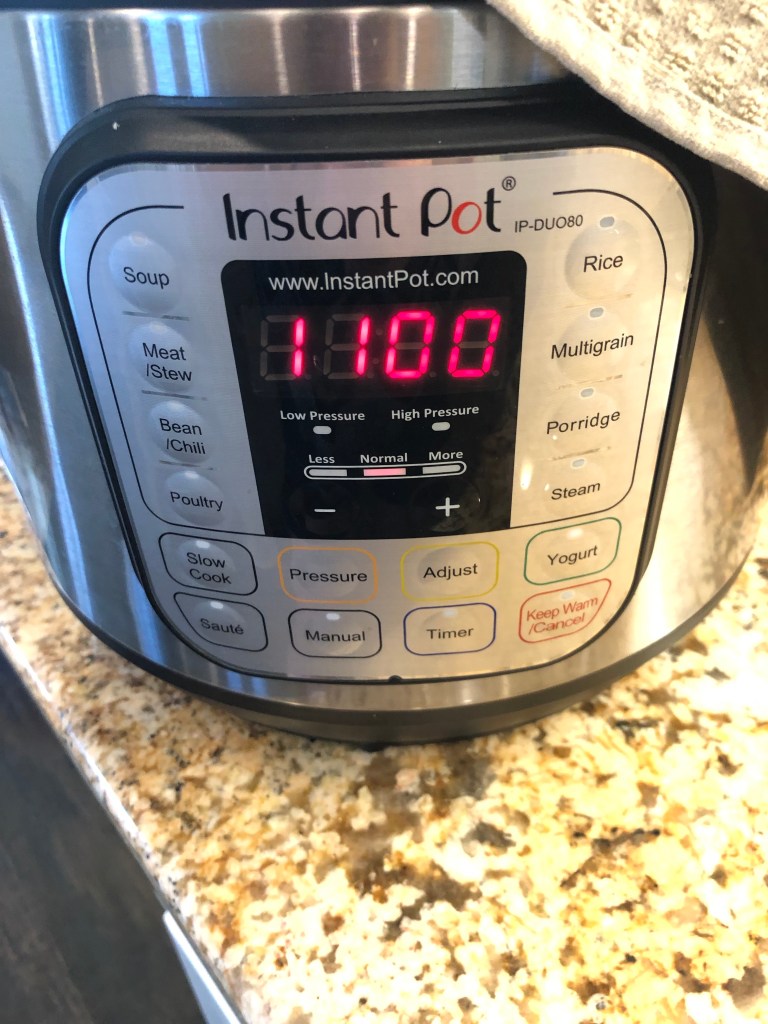
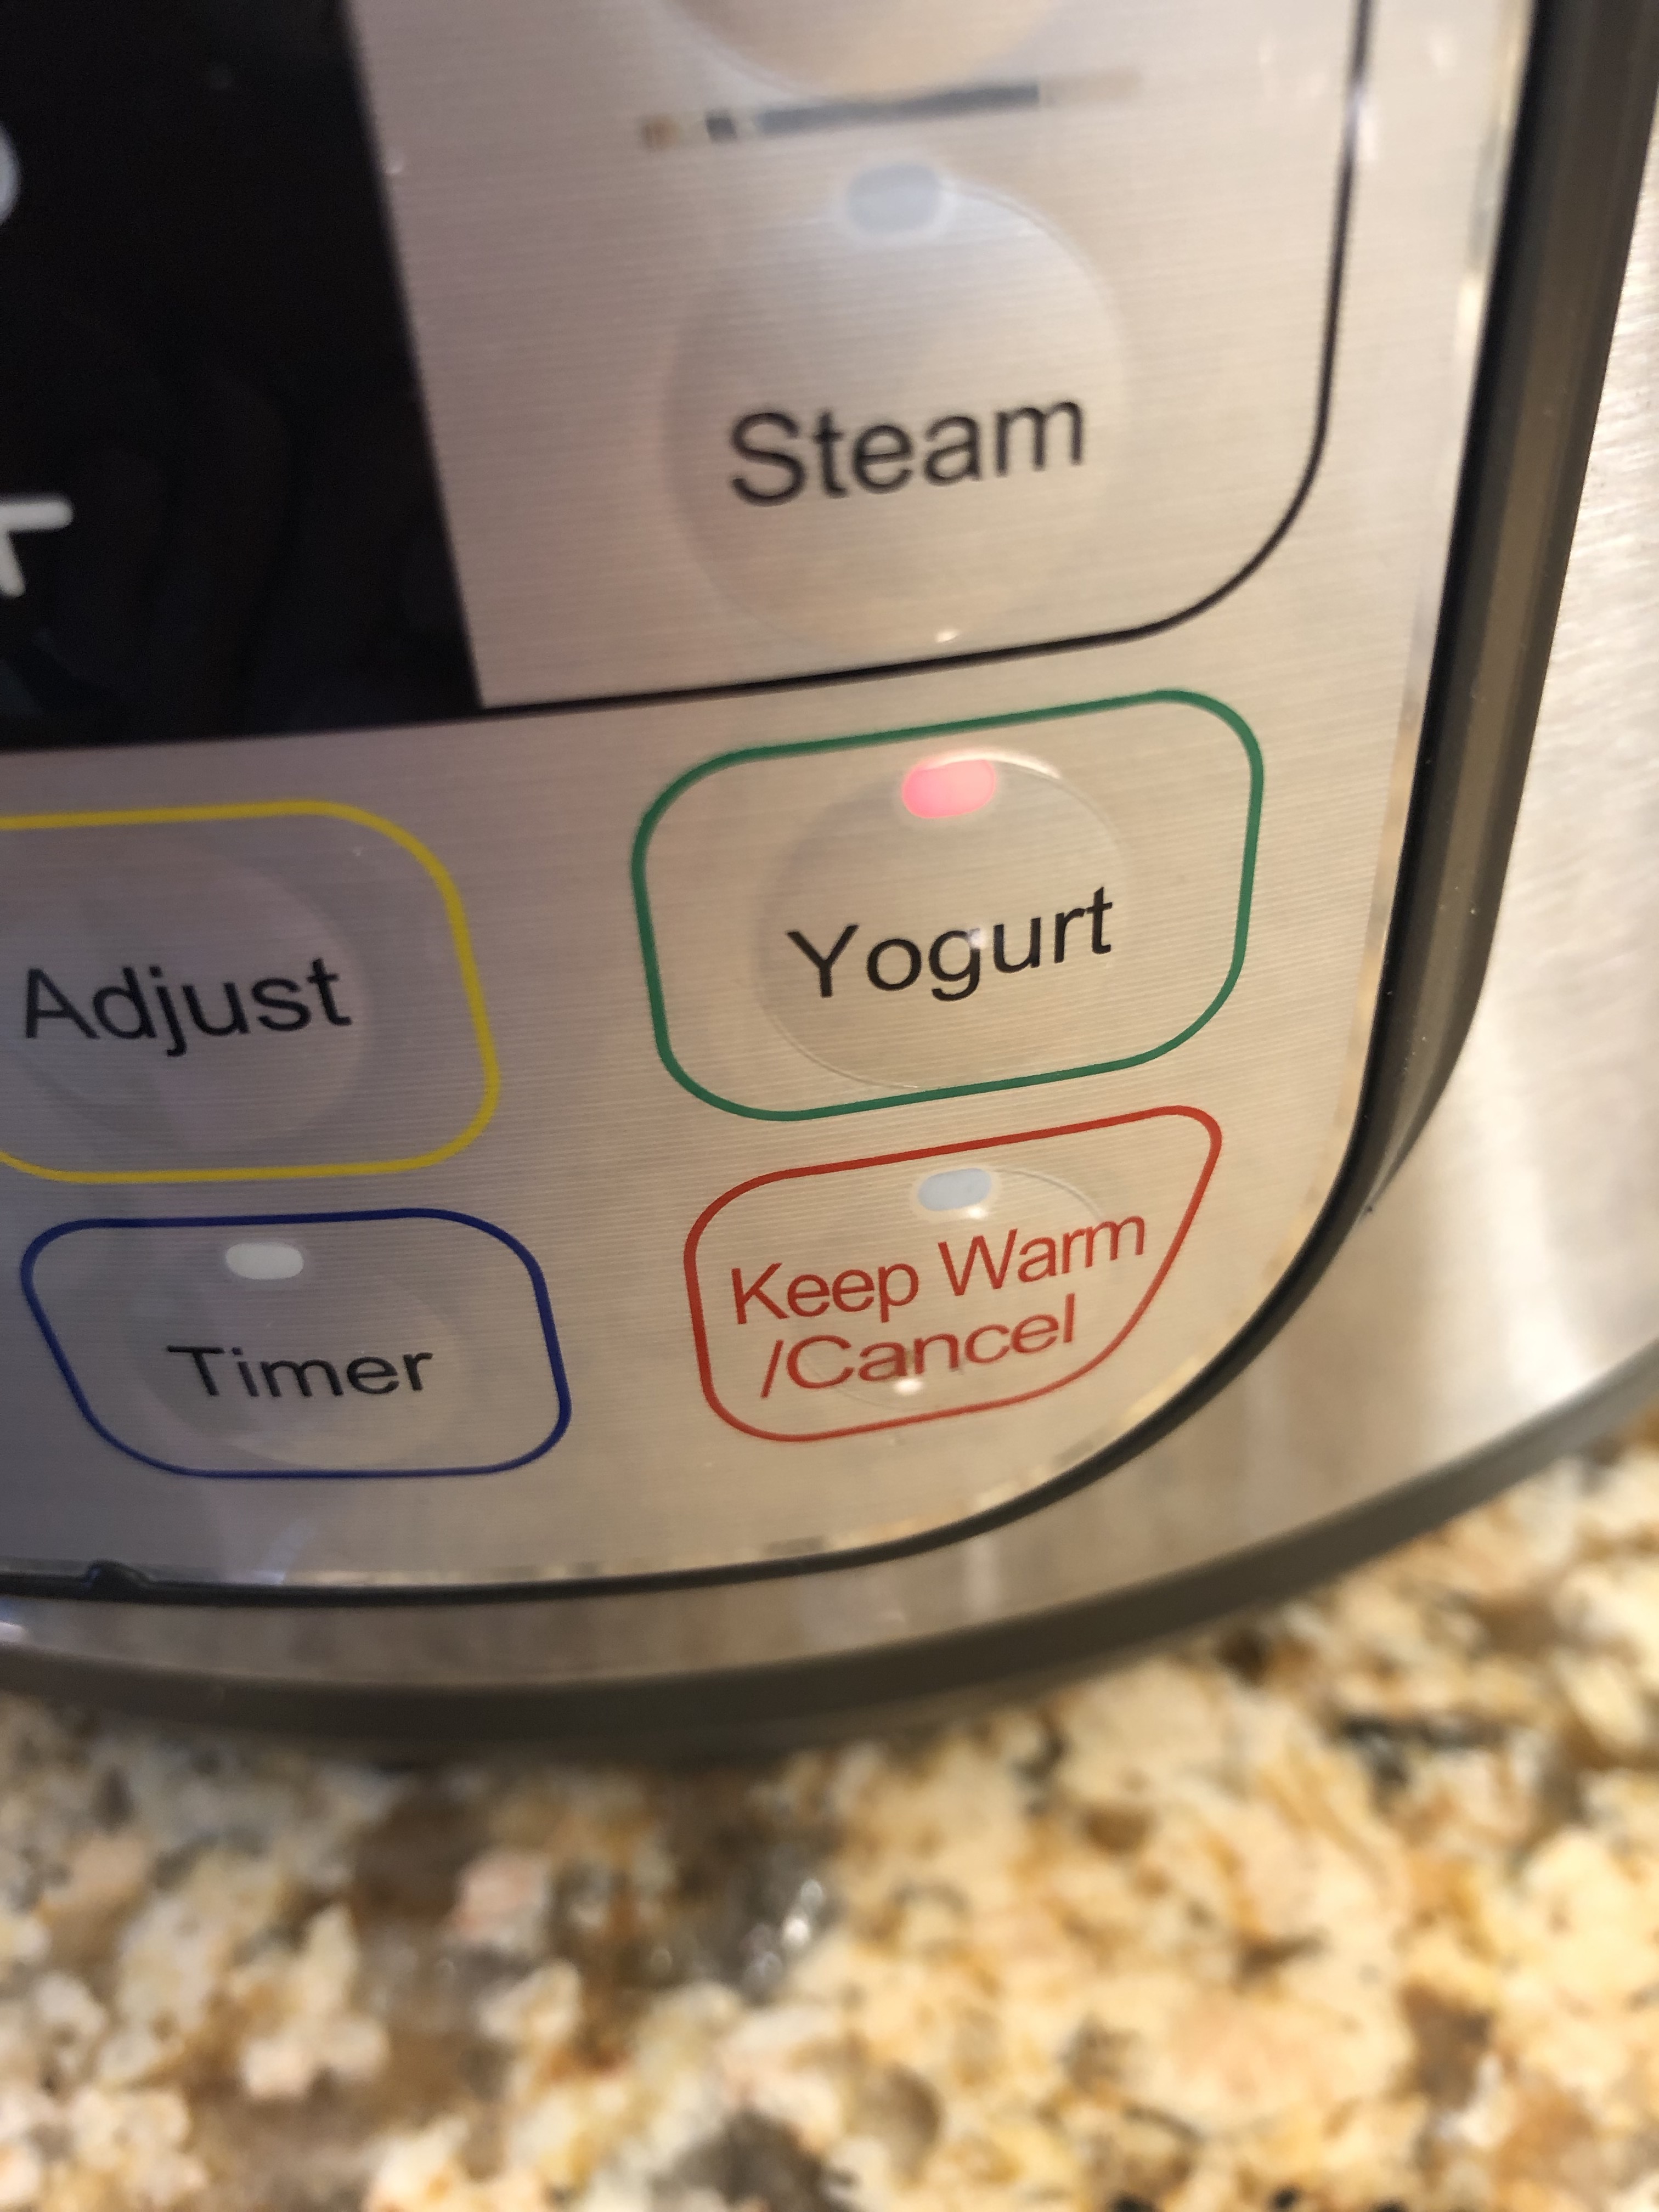
- Place jars into IP and hit yogurt button.
- When 11 hour cycle is complete, refrigerate and let them set up. As soon as they cool they are ready to eat.
- Enjoy!
NOTE: I have recently started making this with 1% milk and have found that it helps to add 1/2 cup of dry milk to the 6-7 cups of milk (rather than 1/4 cup), making it much thicker. So, it you would like your yogurt thicker, just experiment with doubling dry milk. Cost still remains very low!
While we are now a “whole food – plant based” family now. I still recommend this yogurt for those that consume dairy. My parents still make and eat this yogurt weekly!
